Because of my difficulties with the first parts of the BOM. I exported all 3D Models from the CAD Model myself. So, I could validate self if the parts is matching and needed in the given quantity. From this point on, I have forked the GitHub repository, and I’ll change the files to match my needs.
Changes
Changes are applied to the third articulation and the sleeves are added as STL / 3MF Files. As far I can tell these changes are the only ones we have to make.
3M2C / 3M2CC
I changed the motor from a SM42HT33-1334 to a 42BYGHW609. This change has consequences for our 3d-printed parts.
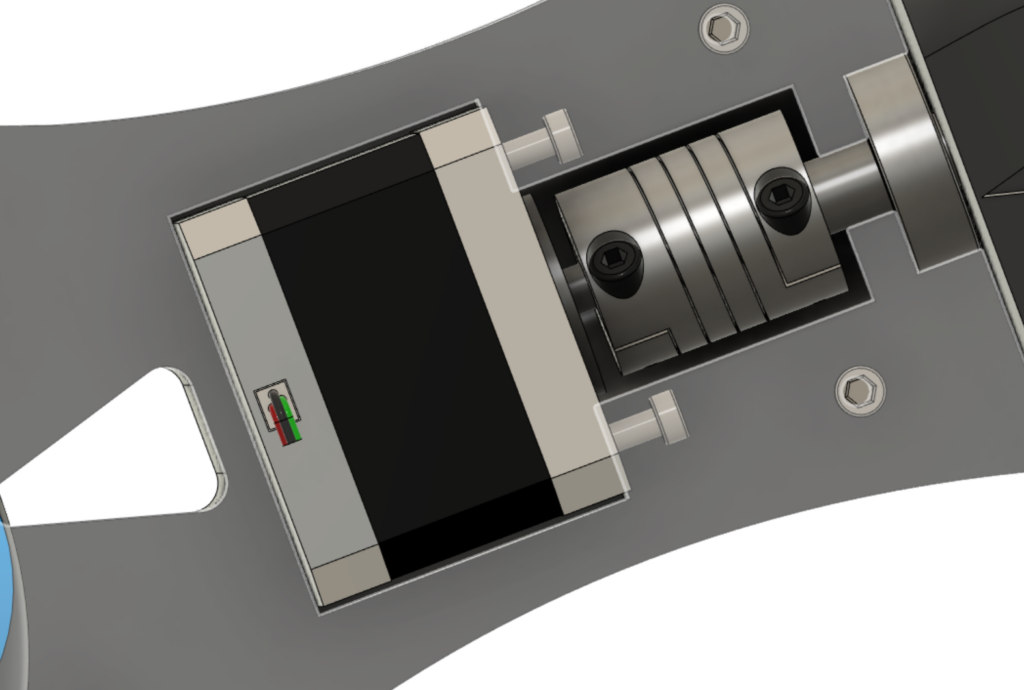
You can see the Motor with the length of 34 mm barely fits inside the chamber. Our new motor has a length of 40 mm. We have to change the length of the chamber to create enough space for the bigger engine.
For more details, visit this post: DIY Moveo Part 5.1: Changes 3M2
Sleeves
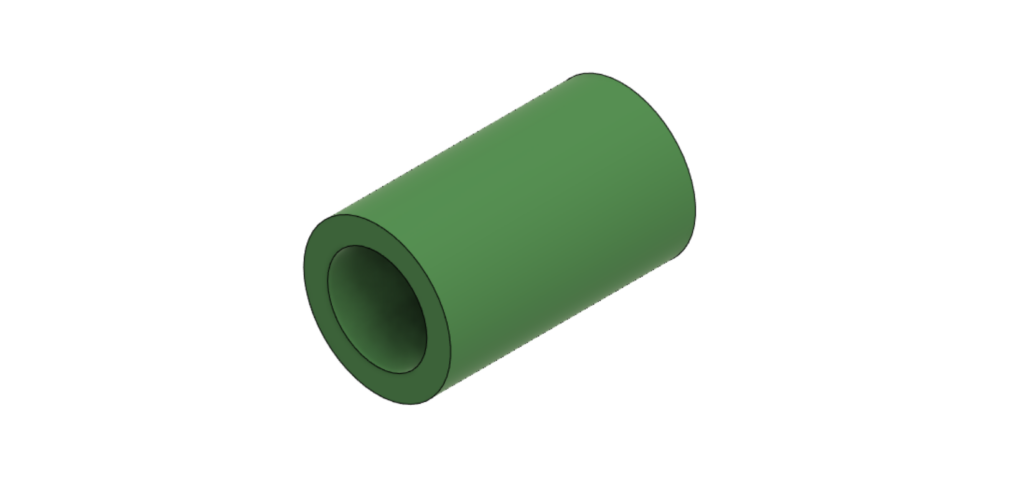
The sleeves listed in the BOM (ID 30 and 31) see part three from this series will be printed, too. So, we have to design and print them. The results are
BOM ID 30 is: M5 Sleeve Ø 8 mm and length 10 mm
BOM ID 31 is: M8 Sleeve Ø 12 mm and length 20 mm
The files can be found here
Price Point: printed Parts
Regarding resources, there are two needed to print out the parts. The first is the material and the second is the print time. For a hobbyist, the print time should not be an issue, but for somebody who needs the printer for commercial applications and for this project, the print time will be matter. This is why I added the print time as a parameter for the price point.
I’m using PLA with a layer height of 0.2 mm and an 15% infill. If you change some of these values, the print time and the weight will change.
Total* weight: 2.31 kg
Total* print time: 8 days 12 hours 9 minutes (204.15 hours)
*precalculated values they aren’t measured, only the predictions from the slicer
If I assume that the print time has no cost and the kilogram of PLA cost €30, then the money side price point is: €69.3
Structure
The first (and biggest) parts are printed with the Gyroid infill. This is the default Infill from the Prusa Slicer. After I read the blog post “Infill patterns” from the prusa help page, I changed my mind.
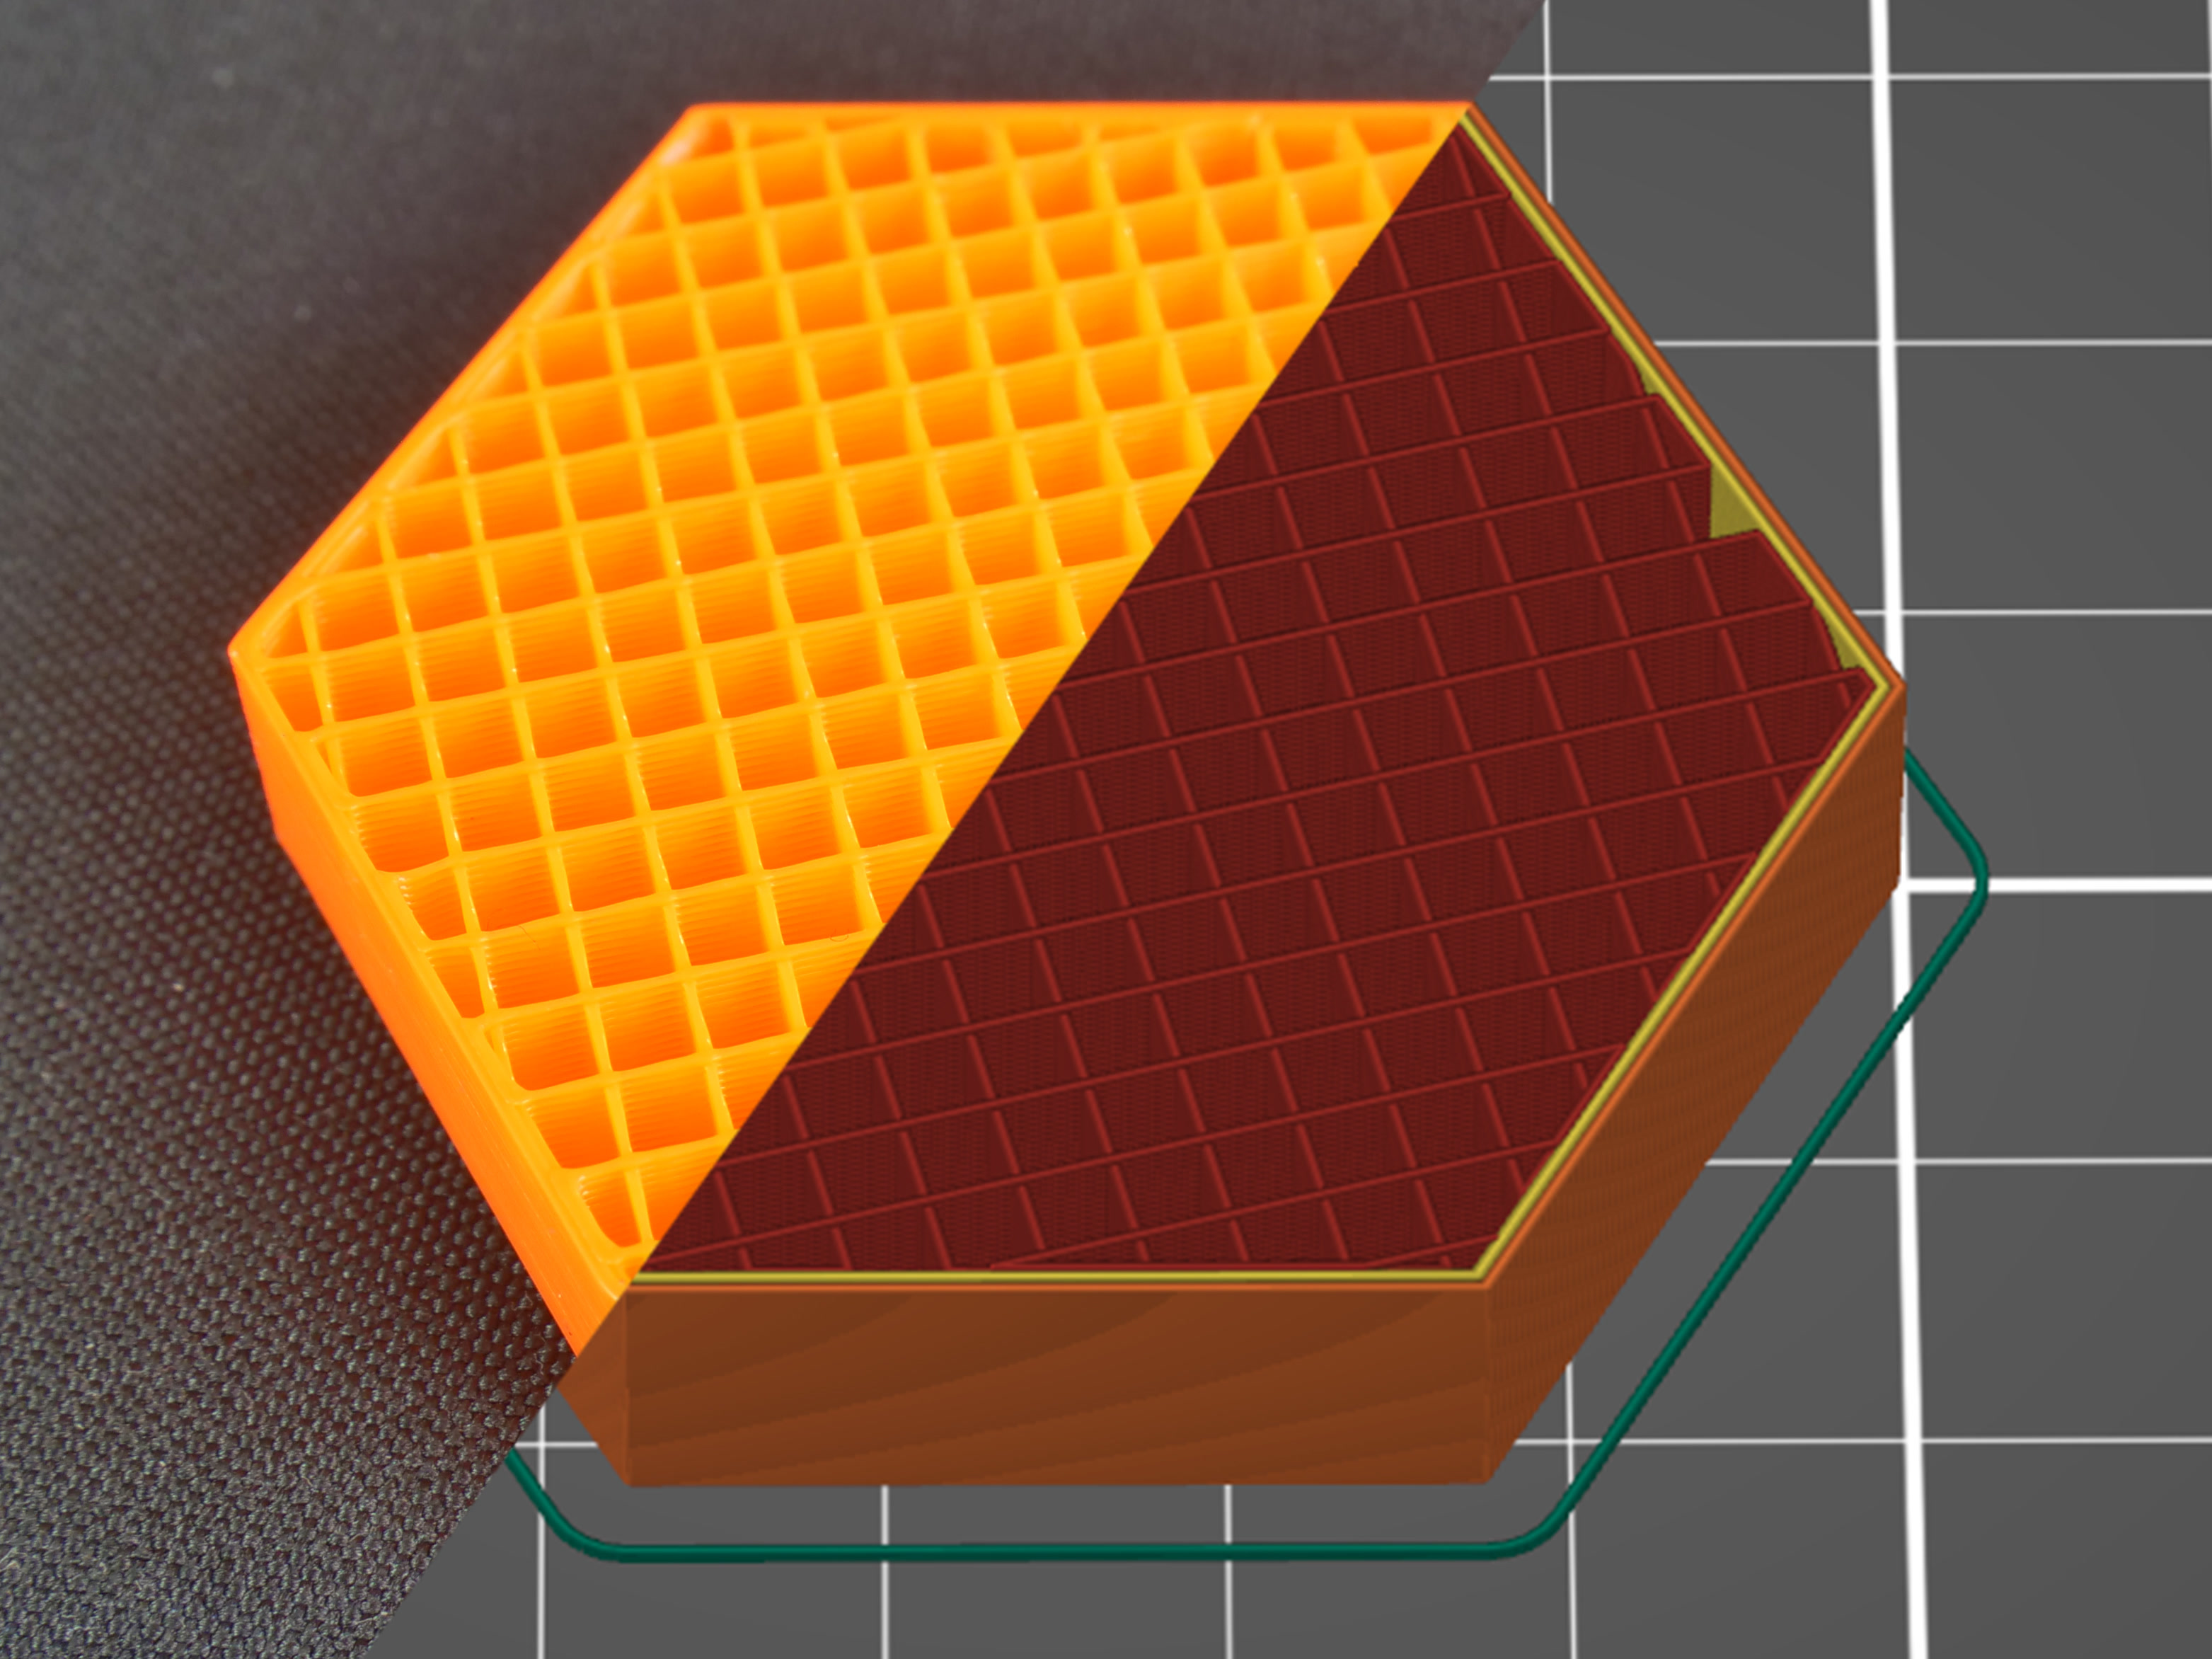
In my opinion, the infill pattern “Adaptive cubic infill” is better for this purpose. Not only is the print time reduced, it also consumes a lot less material. The 3M1 needs with the Gyroid infill 254g and with the adaptive cubic infill, only 224g material. This means that our robot can lift 30g more than before ant this only by changing the infill pattern and by changing only one part. The strength from the 3d-printed part for our purposes should be quite similar, so there is no real reason to use the Gyroid infill anymore. I’ll use the already printed parts with the Gyroid, though.
3D-printed Parts
I added BOM ID’s 233, 234, 235 and 236 to the list. Please note, that I’m not printing the components for the “Box electronics”, this is because my hardware doesn’t match the original and has a different size. We need to design our own at some point.
{
  "message": "Bad credentials",
  "documentation_url": "https://docs.github.com/rest",
  "status": "401"
}
Please have a look at my release candidate on GitHub. It contains all files in the 3mf format and STL. If you have a prusa i3 mk3, you can go ahead and print the files direct.
Hello, I also started building a moveo robot and came across your website.
Great to see how you described everything and also very useful.
I just had a question about the printed parts. I printed all parts with PLA, as you also described. Now I read that the stepper motors can heat up to 80 degrees. The deformation of PLA starts between 60 and 70 degrees Celsius. Are you experiencing any problems with this?
If I understand correctly, you completed the project some time ago and if there were any problems, they would have been done by now.
Once again great website and very useful. Thanks in advance for your response.
Hello, thank you very much. I had no problems with PLA. However, I have not tested the arm in continuous operation. For the test drives I have done, I have not noticed any deformation. Depending on what motors you are going to use, I understand your concerns. You could just switch to PETG, then you would be on the safe side with 94°C. I haven’t had any problems so far, but I’m also far from a 24/7 operation.
I have completed the hardware project, but I have never tried to use the original Maven firmware. I have written my own, but it is far from being “tutorial ready”, which is why you will find less on this topic on the website.
Likewise, I’m hoping for more spare time, so I can complete more of the project for this website. If you have any experiences with building that I have not yet included on the website, I would appreciate your input.