
In this tutorial, we will install Ubuntu 20.04 on a Windows host machine, build Vitis AI GPU images and test if the GPU Docker pass-through works. The machine in the tutorial has a GPU from Nvidia.
Install Tools
Install WSL by executing the following command in a PowerShell running as administrator
wsl --installIf this command throws an error, then look at the official Microsoft installation guide.
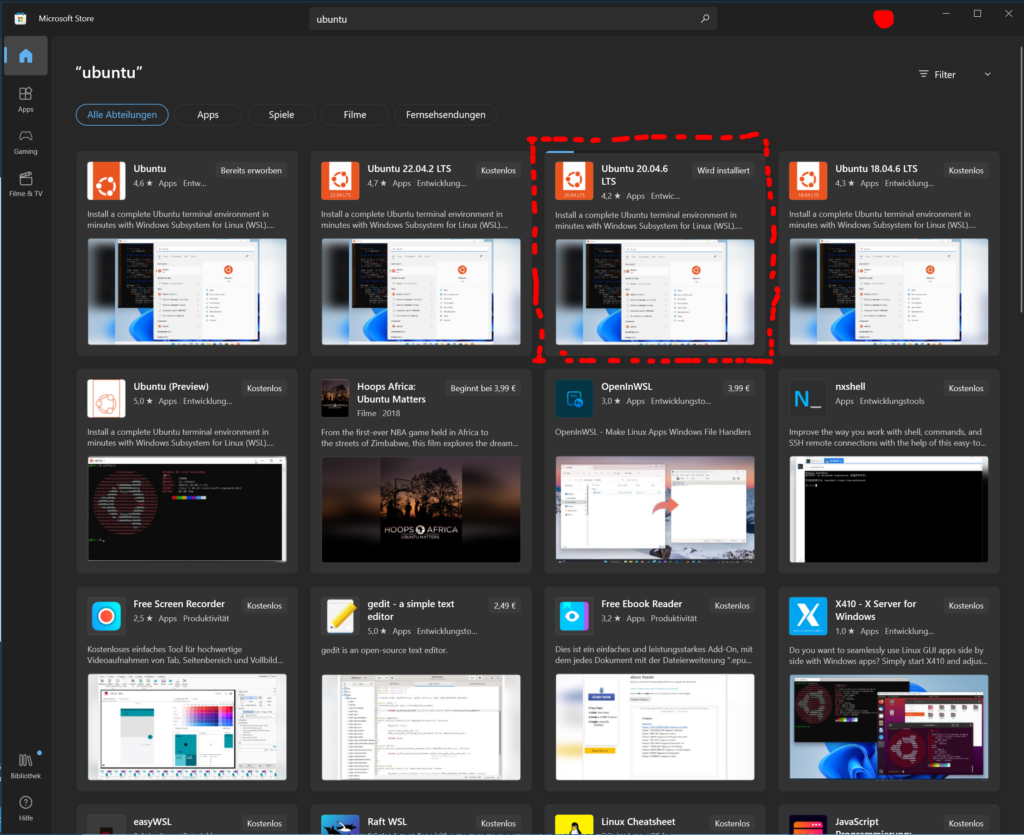
Install Ubuntu 20.04 through the Microsoft App Store (Link). You need 20.04!
If you don’t trust me, have a look into the official Vitis AI Host (Developer) Machine Requirements.
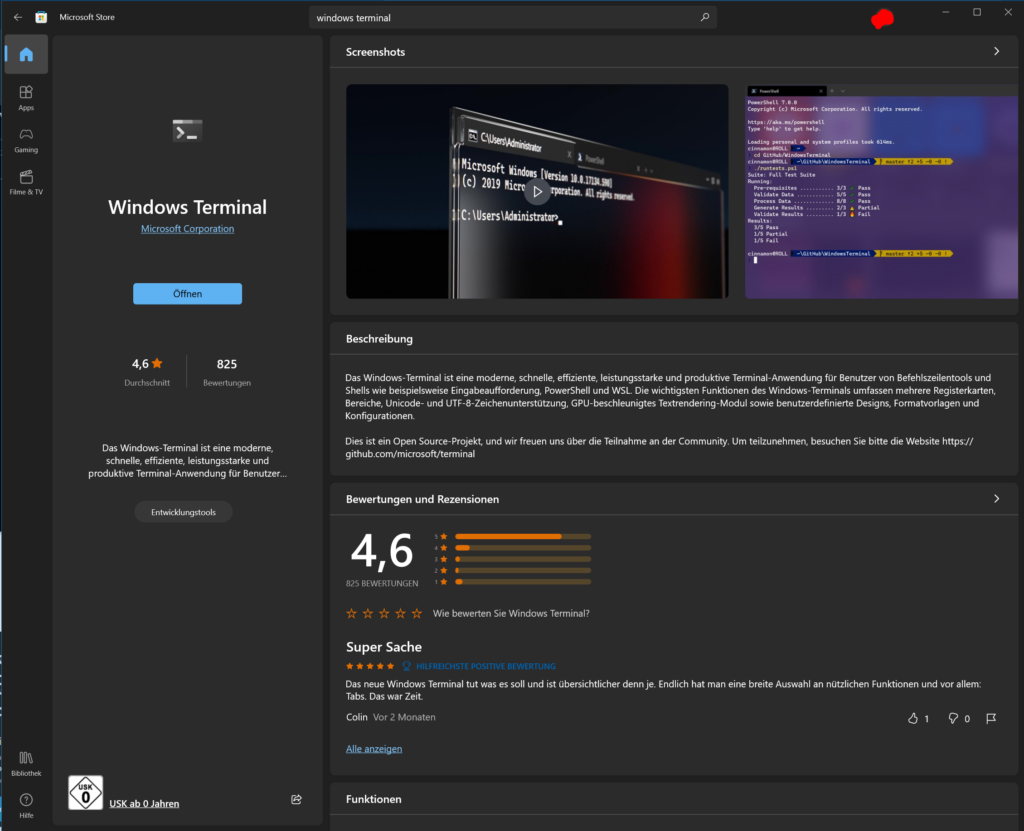
Install Windows Terminal through the MS App Store (Link)
Setting up Ubuntu
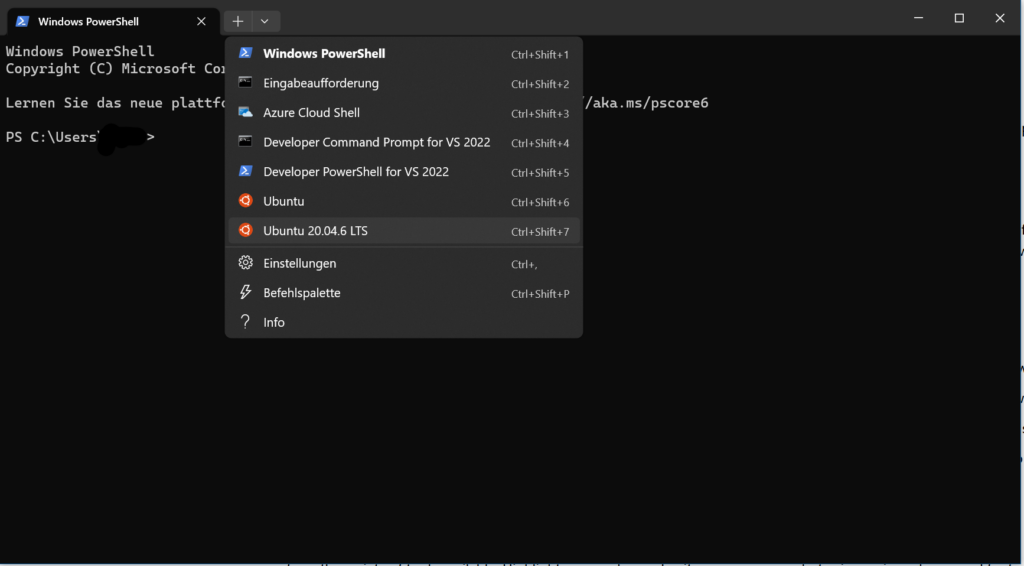
Start the Windows terminal and use the dropdown menu to select Ubuntu or Ubuntu 20.04. In my case, I already installed Ubuntu 22.04. This is why I have two installations ready to connect.
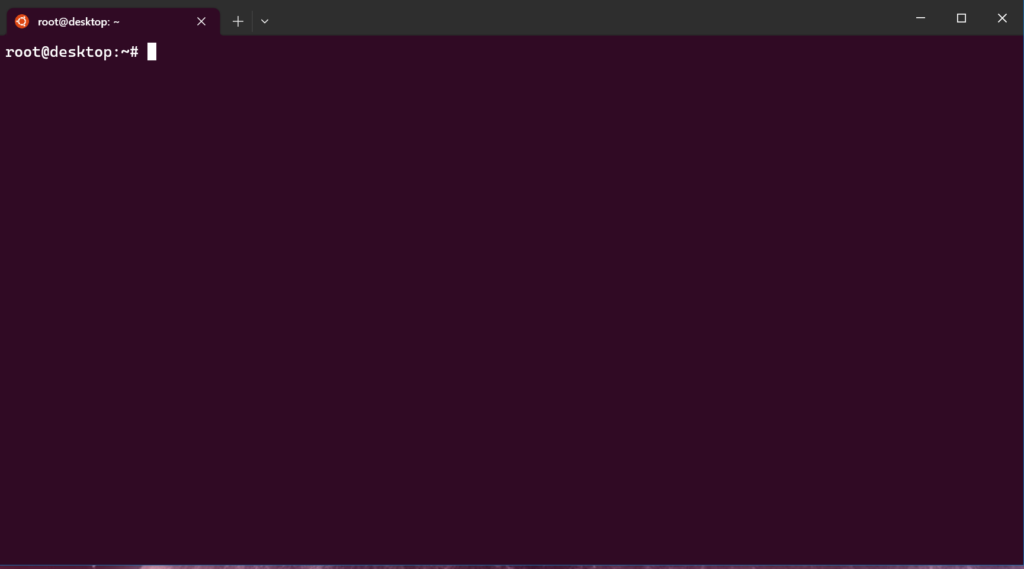
Now you should have a shell into Ubuntu. The rest of this tutorial will be used in this shell. If you have to execute code, it will be in this shell. We’ll follow the Host Installation Instructions from Xilinx. So you can go there or follow this Tutorial further.
Host Installation Instruction
First, we have to install Docker. Go here for the instructions source.
# Add Docker's official GPG key:
sudo apt-get update
sudo apt-get install ca-certificates curl gnupg
sudo install -m 0755 -d /etc/apt/keyrings
curl -fsSL https://download.docker.com/linux/ubuntu/gpg | sudo gpg --dearmor -o /etc/apt/keyrings/docker.gpg
sudo chmod a+r /etc/apt/keyrings/docker.gpg

# Add the repository to Apt sources:
echo \
  "deb [arch="$(dpkg --print-architecture)" signed-by=/etc/apt/keyrings/docker.gpg] https://download.docker.com/linux/ubuntu \
  "$(. /etc/os-release && echo "$VERSION_CODENAME")" stable" | \
  sudo tee /etc/apt/sources.list.d/docker.list > /dev/null
sudo apt-get update
sudo apt-get install docker-ce docker-ce-cli containerd.io docker-buildx-plugin docker-compose-pluginNow you have to start the Docker Damon. In my case im using
#sysvinit
service docker start
docker ps # Check if Damon has started
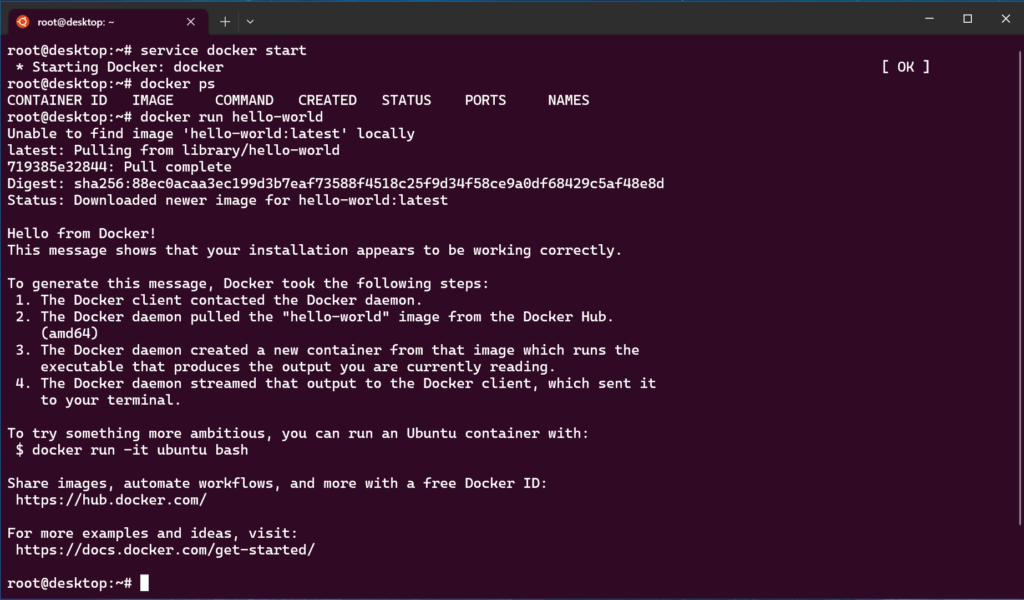
docker run hello-world # Test installationYour output should be look like this
After installing docker, we need to install the nvidia driver.
curl -fsSL https://nvidia.github.io/libnvidia-container/gpgkey | sudo gpg --dearmor -o /usr/share/keyrings/nvidia-container-toolkit-keyring.gpg \
  && curl -s -L https://nvidia.github.io/libnvidia-container/stable/deb/nvidia-container-toolkit.list | \
    sed 's#deb https://#deb [signed-by=/usr/share/keyrings/nvidia-container-toolkit-keyring.gpg] https://#g' | \
    sudo tee /etc/apt/sources.list.d/nvidia-container-toolkit.list \
  && \
    sudo apt-get update
sudo apt-get install -y nvidia-container-toolkitThe official nvidia installation instructions can be found here. You can check your installation with the command “nvidia-smi“.
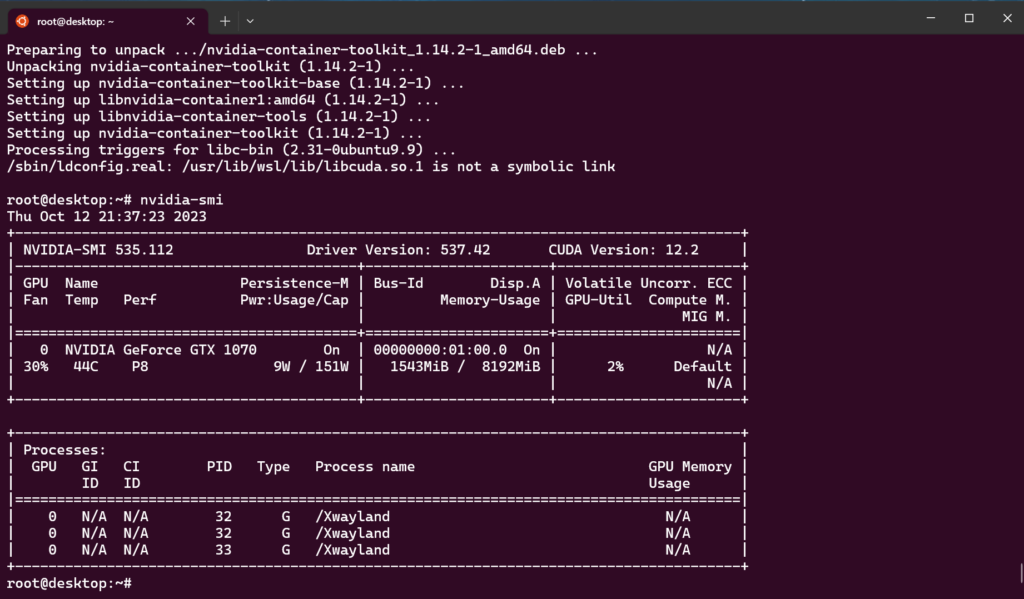
sudo apt update && sudo apt install -y nvidia-docker2Restart your PC and don’t forget to start the docker Damon again. With this code you can check your installation.
docker run --gpus all nvcr.io/nvidia/k8s/cuda-sample:nbody nbody -gpu -benchmark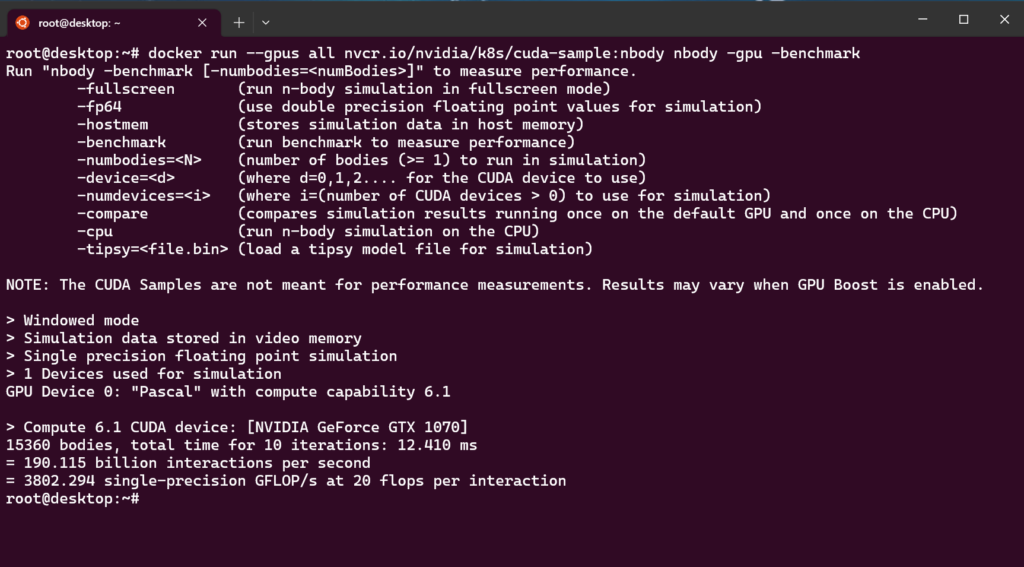
For a better or updated Version of the docker GPU pass-through video, please refer to my source. Have in mind you need Ubuntu 20.04.
Building Vitis-AI-GPU Container
Check out the Vitis-AI GitHub Repository. The Repository is big. If your connection is slow, take a seat.
git clone https://github.com/Xilinx/Vitis-AI.git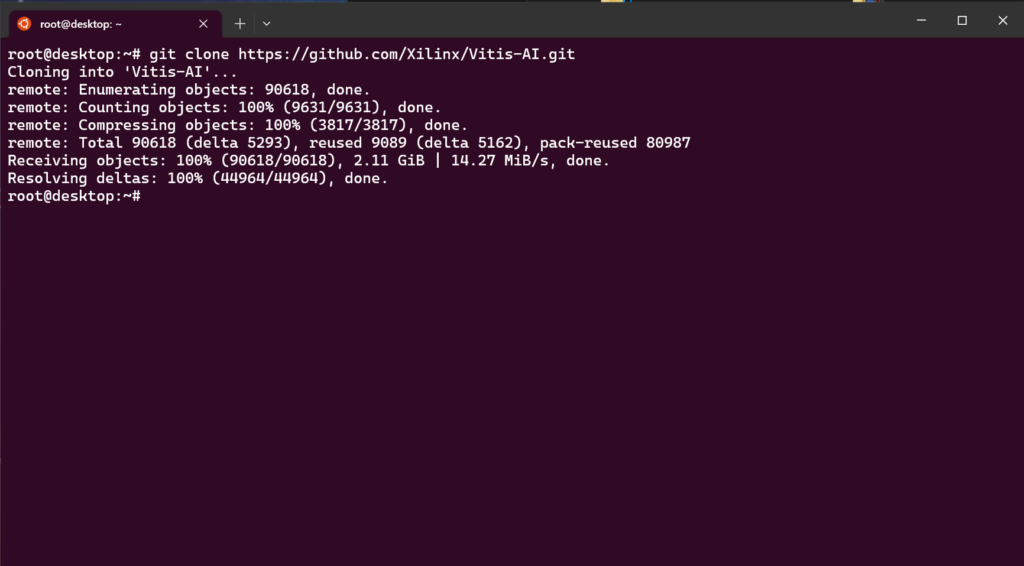
Go in the docker folder from the Vitis-AI Repository.
cd Vitis-AI/docker/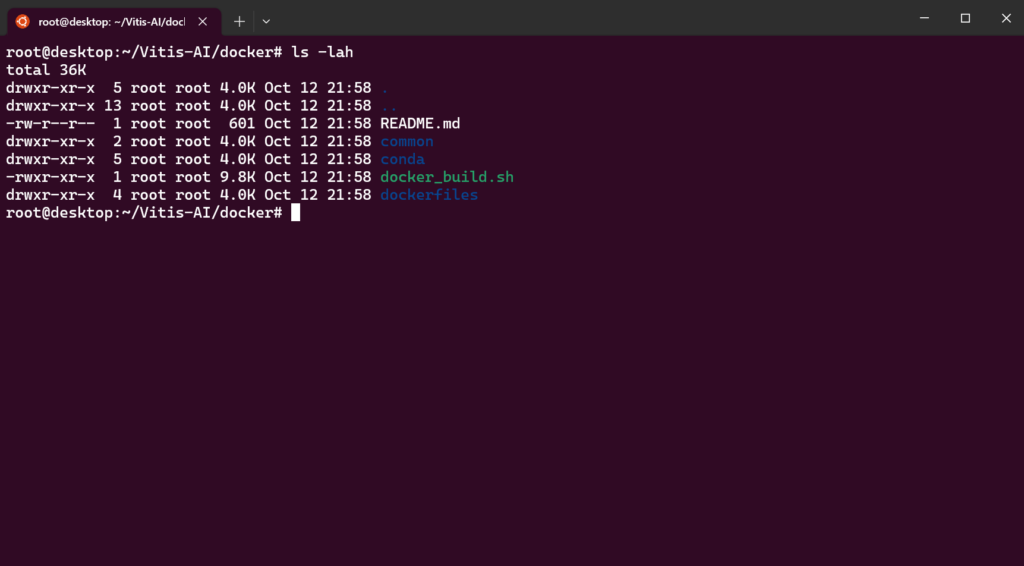
Now we have to choose which image we should be. To follow my series, you require the PyTorch image, so let’s build this one. If you require another image, the table below shows the options.
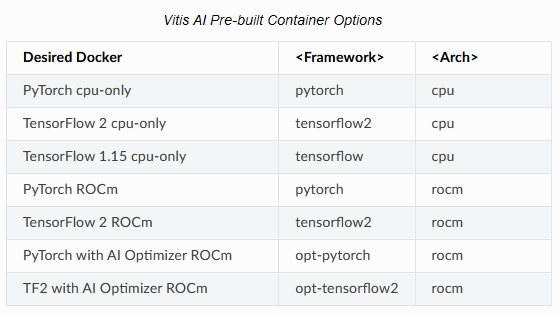
With the command here, you will build the GPU image from PyTorch. After executing the command, you have to accept the licence agreement and enter yes in the shell.
./docker_build.sh -t gpu -f pytorchAfter a long time we can test the image. The name of the image is:
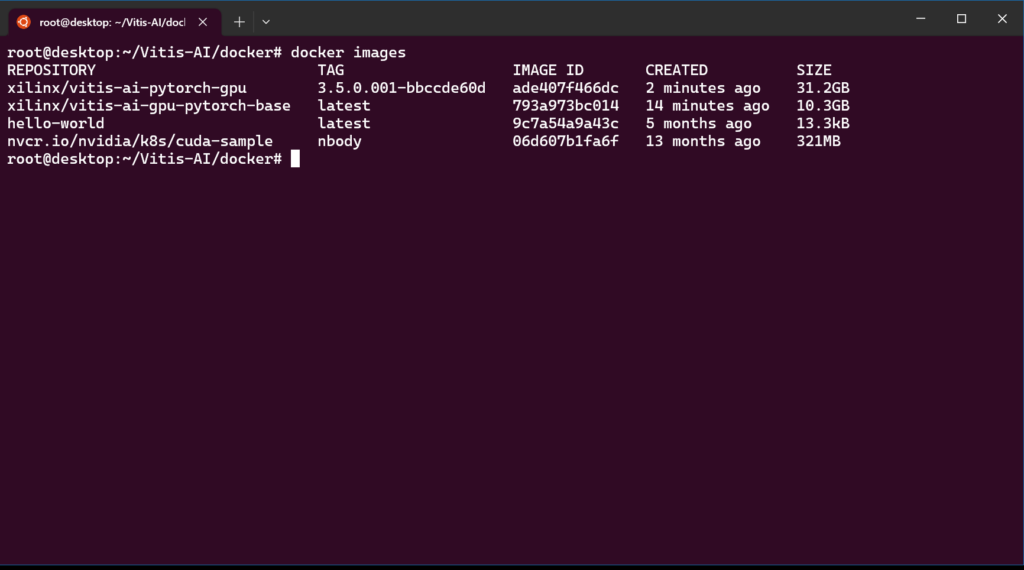
xilinx/vitis-ai-pytorch-gpu:3.5.0.001-bbccde60d
Check your Image name with the command docker images out.
We change the directory to the root folder from the repository. And start the Image with the docker_run.sh from the Vitis-AI Repository.
cd .. # change to Repository root folder
./docker_run.sh xilinx/vitis-ai-pytorch-gpu:3.5.0.001-bbccde60d
Docker GPU Image test
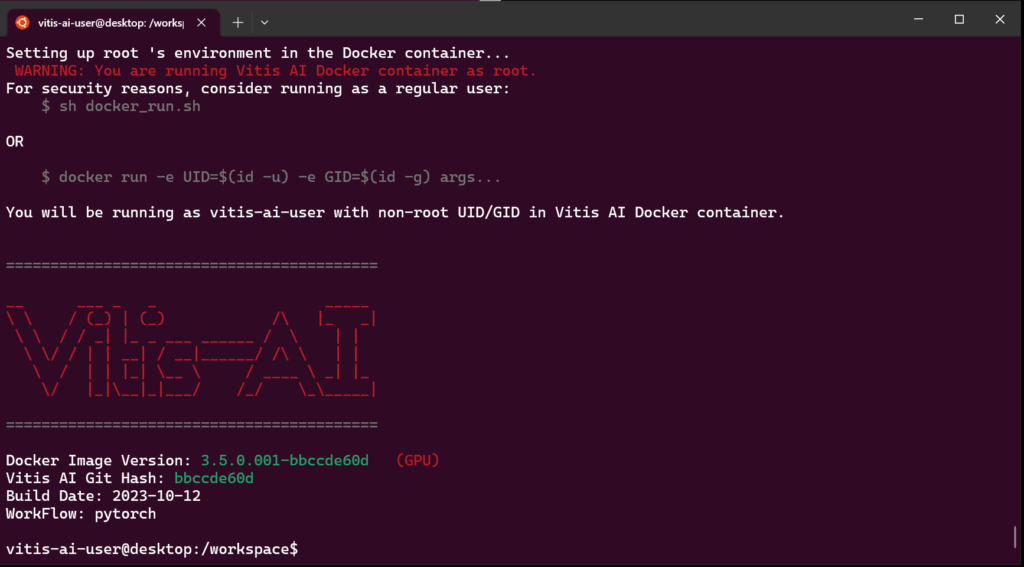
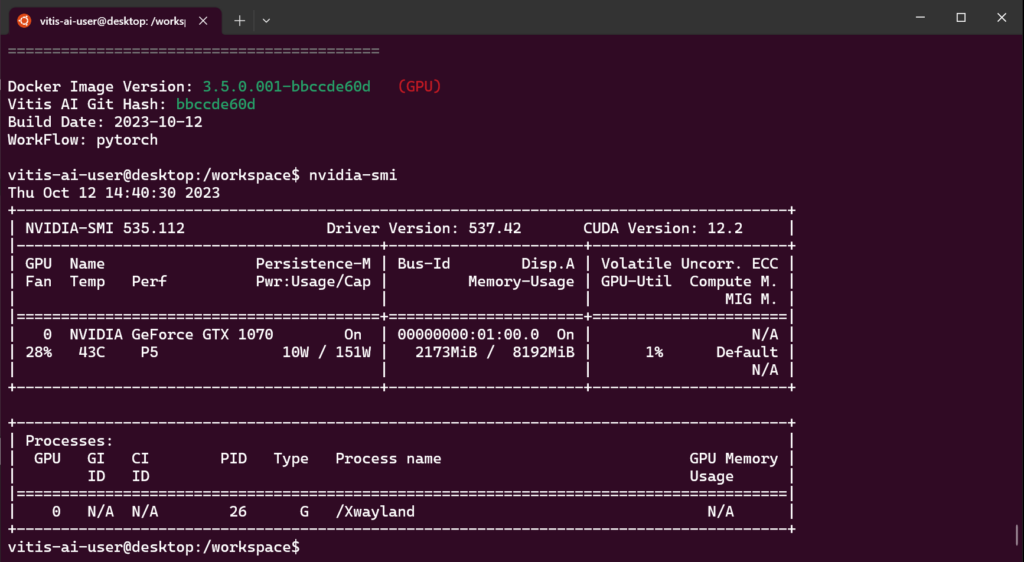
Now you should see something like this. We can check everything with the command “nvidia-smi” again.
And done! You now have a Working VItis AI GPU environment for your poject! Have a great time with this 🙂
Leave a Reply