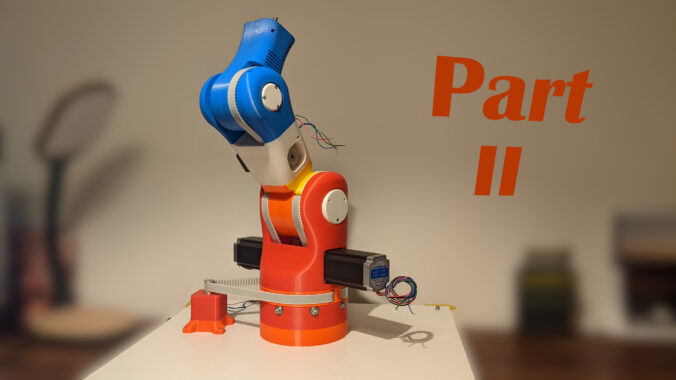
This week’s blog post is the second part of the part 9 assembly. We’ll start with the step 4 and finish the Module 3 in this post. If you don’t have read last week’s post, check it out here.
Preparation
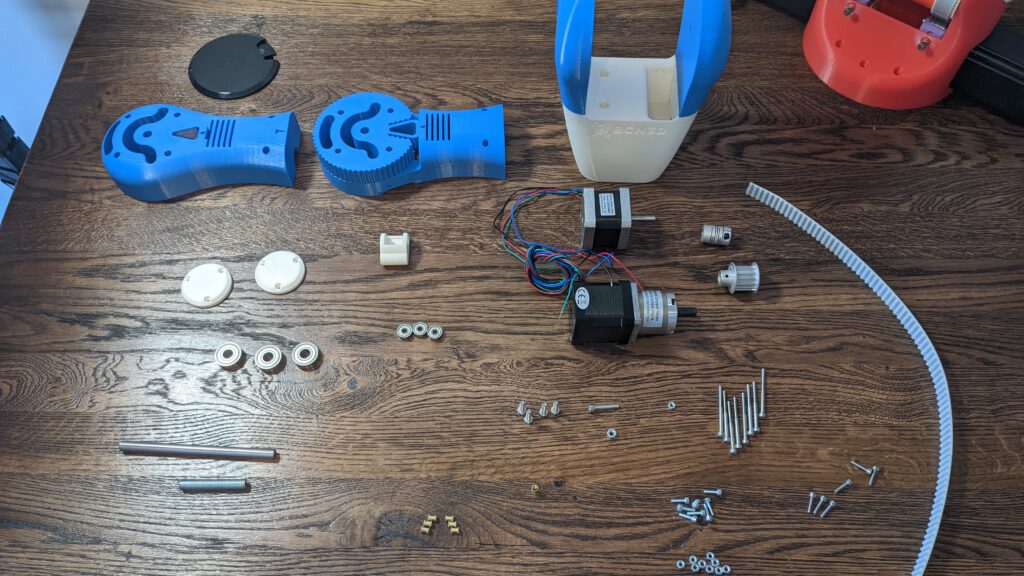
You need the things listed in the blog post from last week. For your convenience, here is the list again. Please be aware that some components are already installed in step 1 to 3.
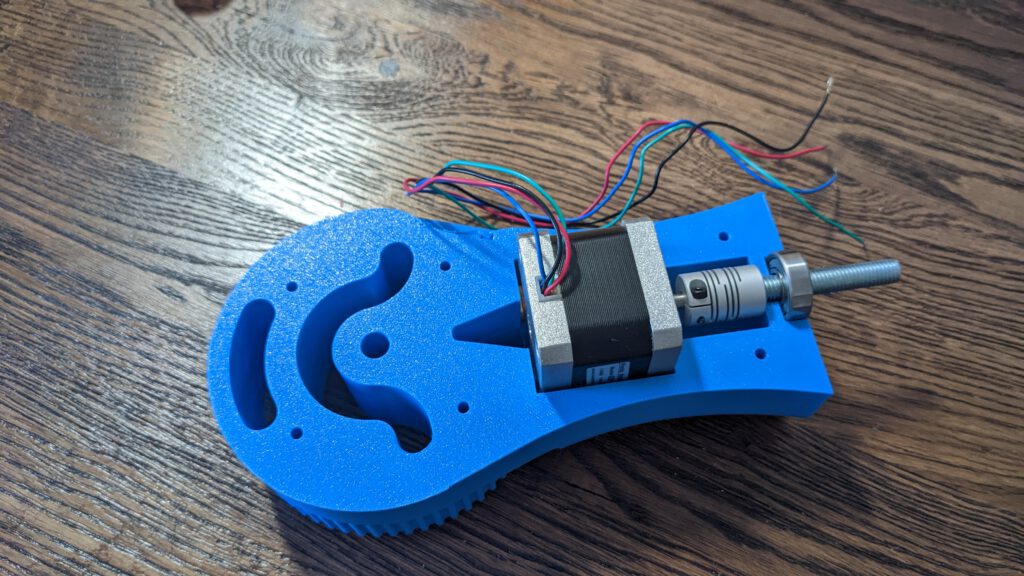
Step 4: 3M2 Assembly
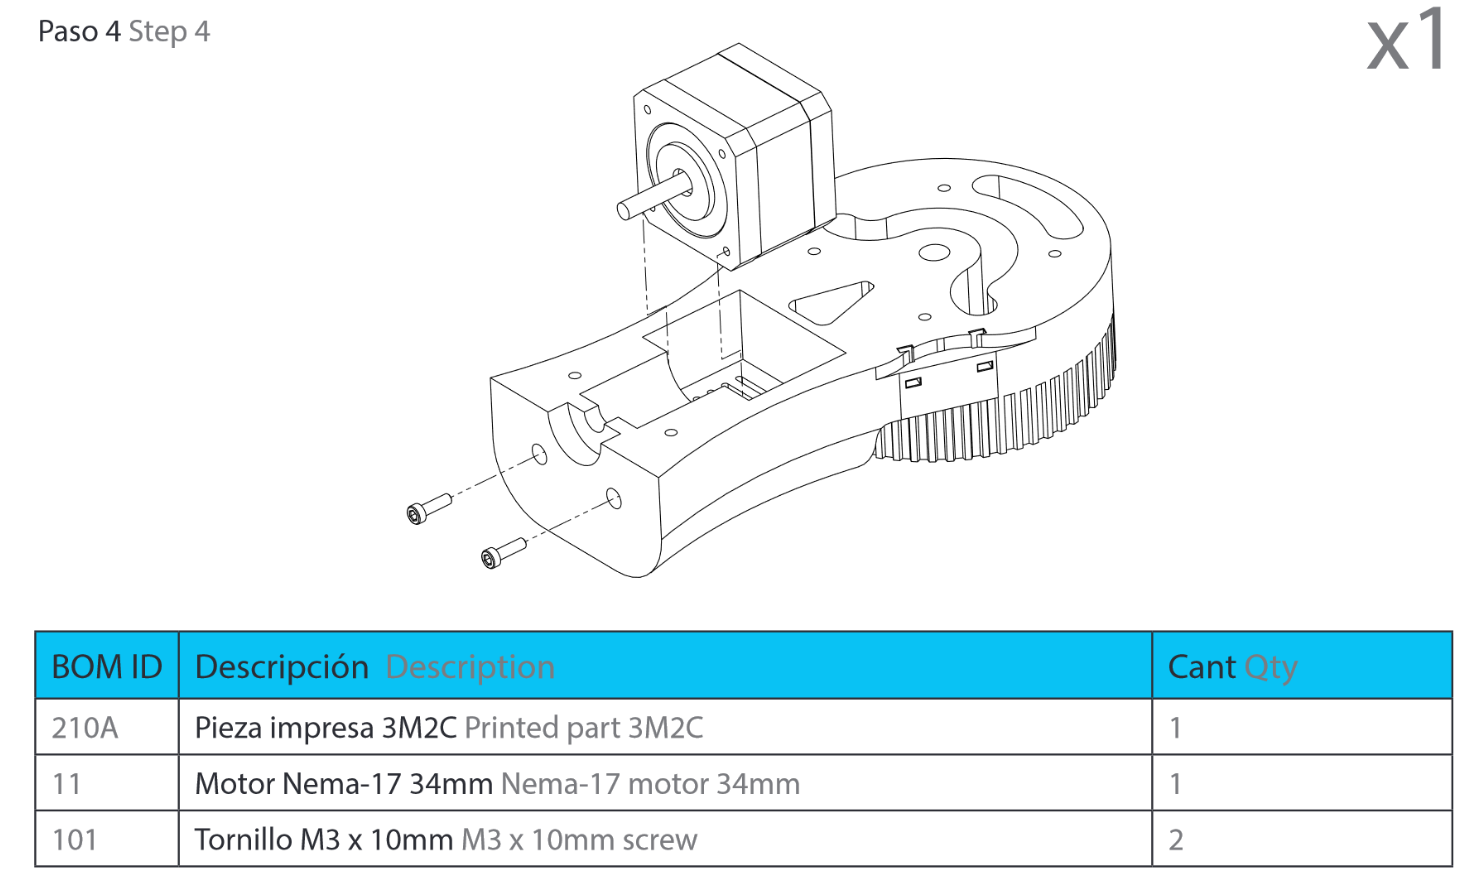
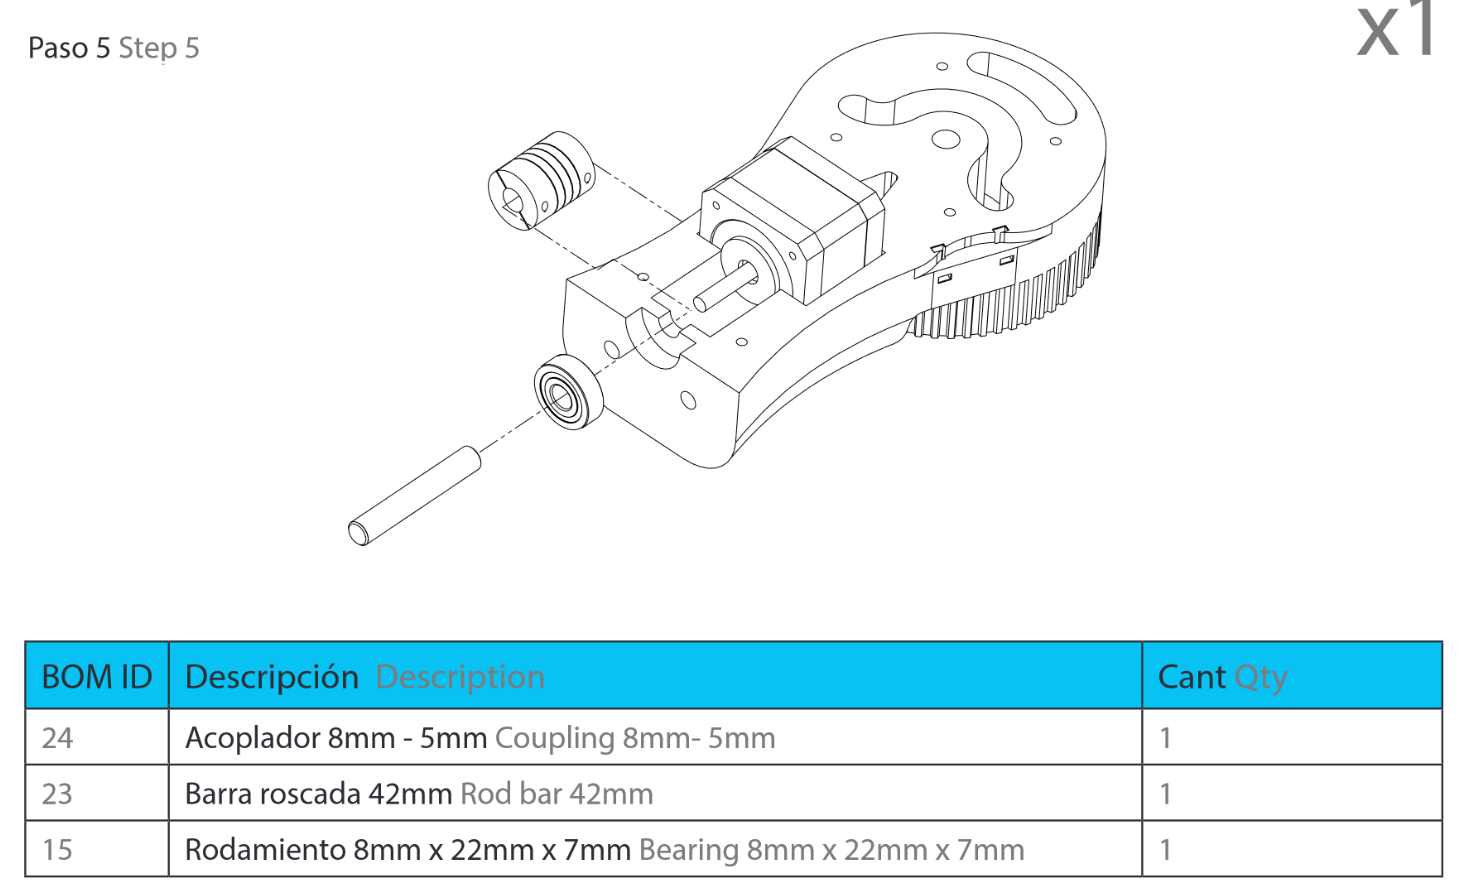

We have edited the 3M2 parts (3M2C & 3M2CC) to fit our stepper motor inside. For the detailed changes, have a look at hit blog post:
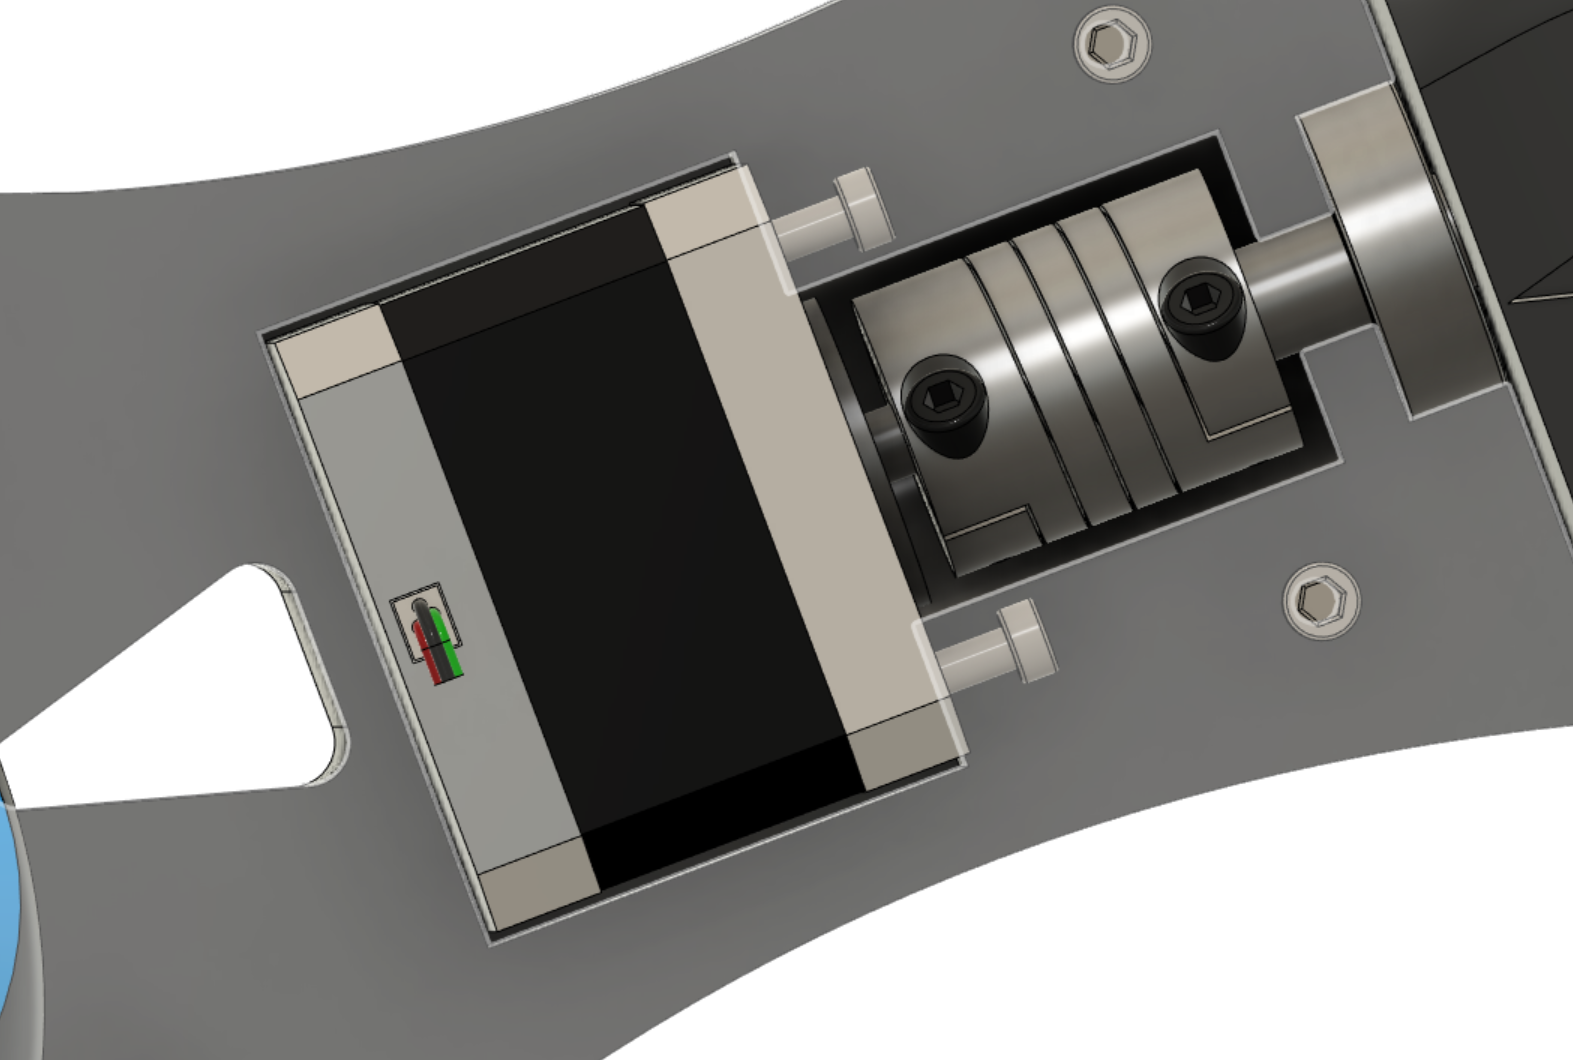
Because of the modification, the motor fits very well inside the 3M2C part. Note that the rod is threaded. This is important for mounting the 4th module on top of the 3rd.

So fare, it is a straightforward installation. Now thread the cable through the 3M2CC part and screw the 3MC and 3MCC parts together.
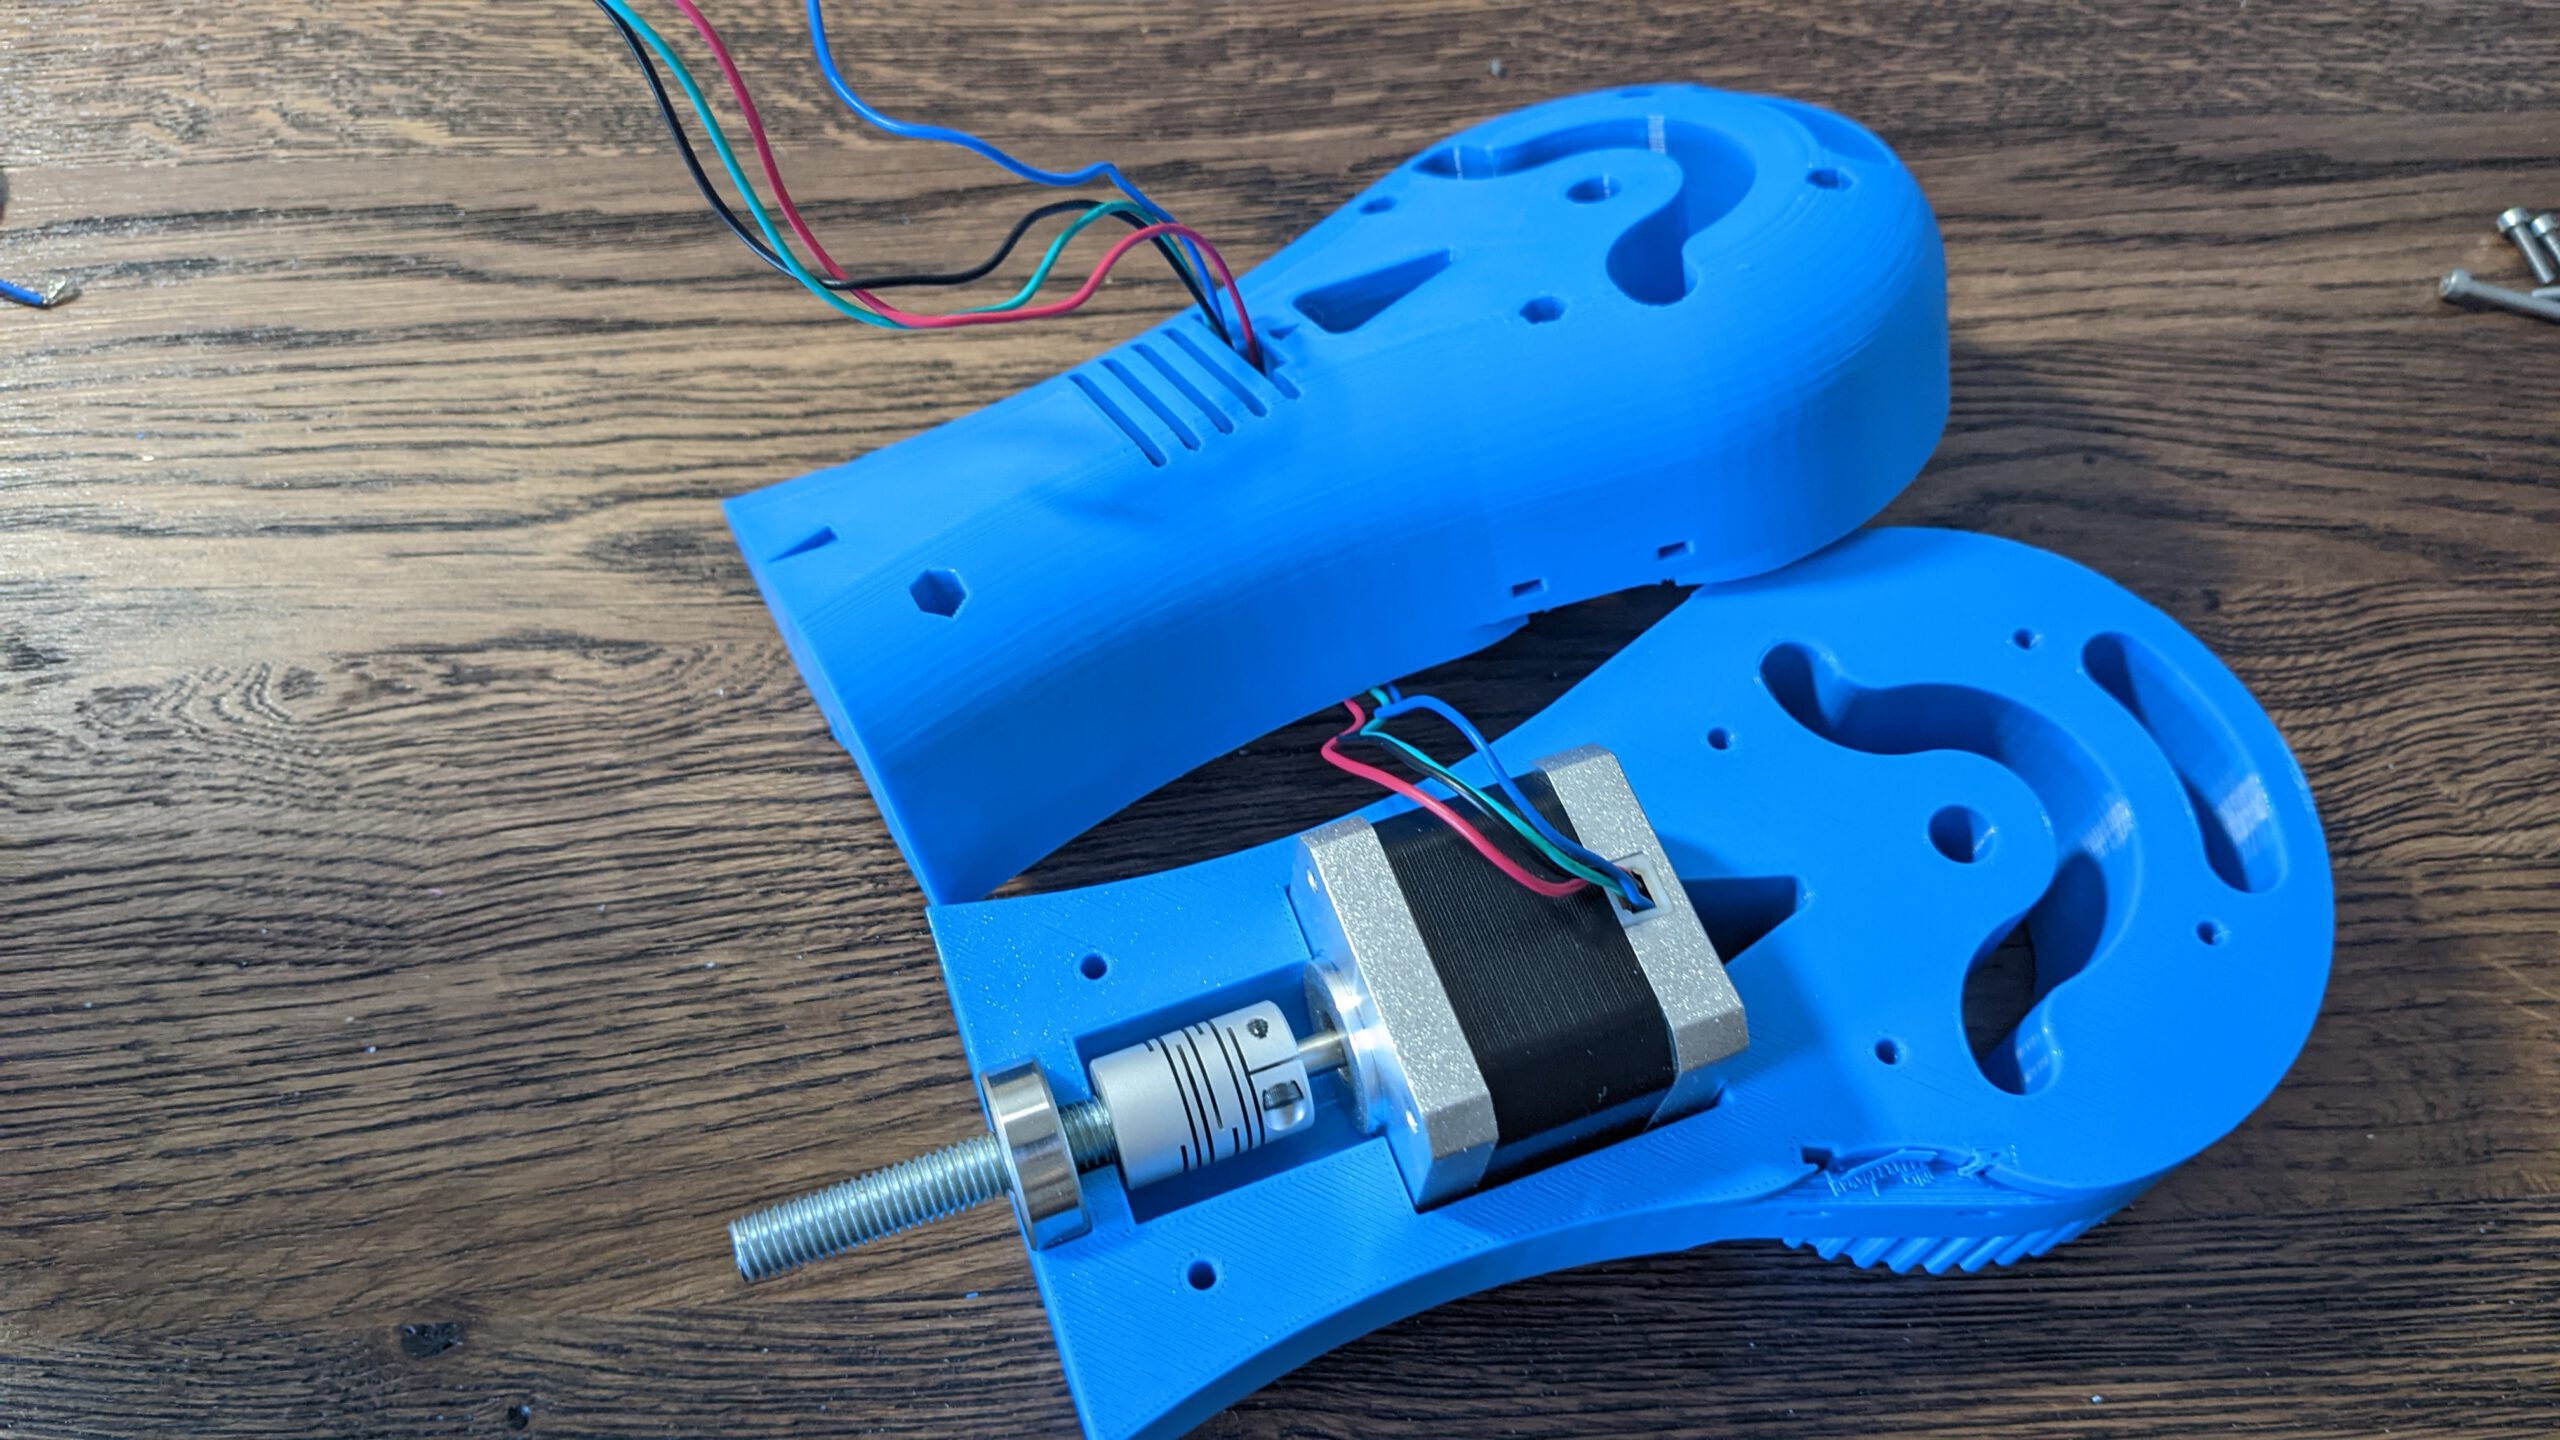
After this, we finished this step.
Step 5: The Belt

You need a piece of belt with the length of 44.6 cm. The basic strategy to mount the belt is the same as in the belt mount step from module 2. First we insert on side into the belt mount. Then thread the belt through the hole and around the pulley.
Thread the belt through the hole again and align the 3MC assembly and the end off the belt on one side
Now pull on the belt end and slowly move the 3MC assembly to the installation point. The mount for the end of the belt should be accessibly the hole time. Now insert the belt into the mount.
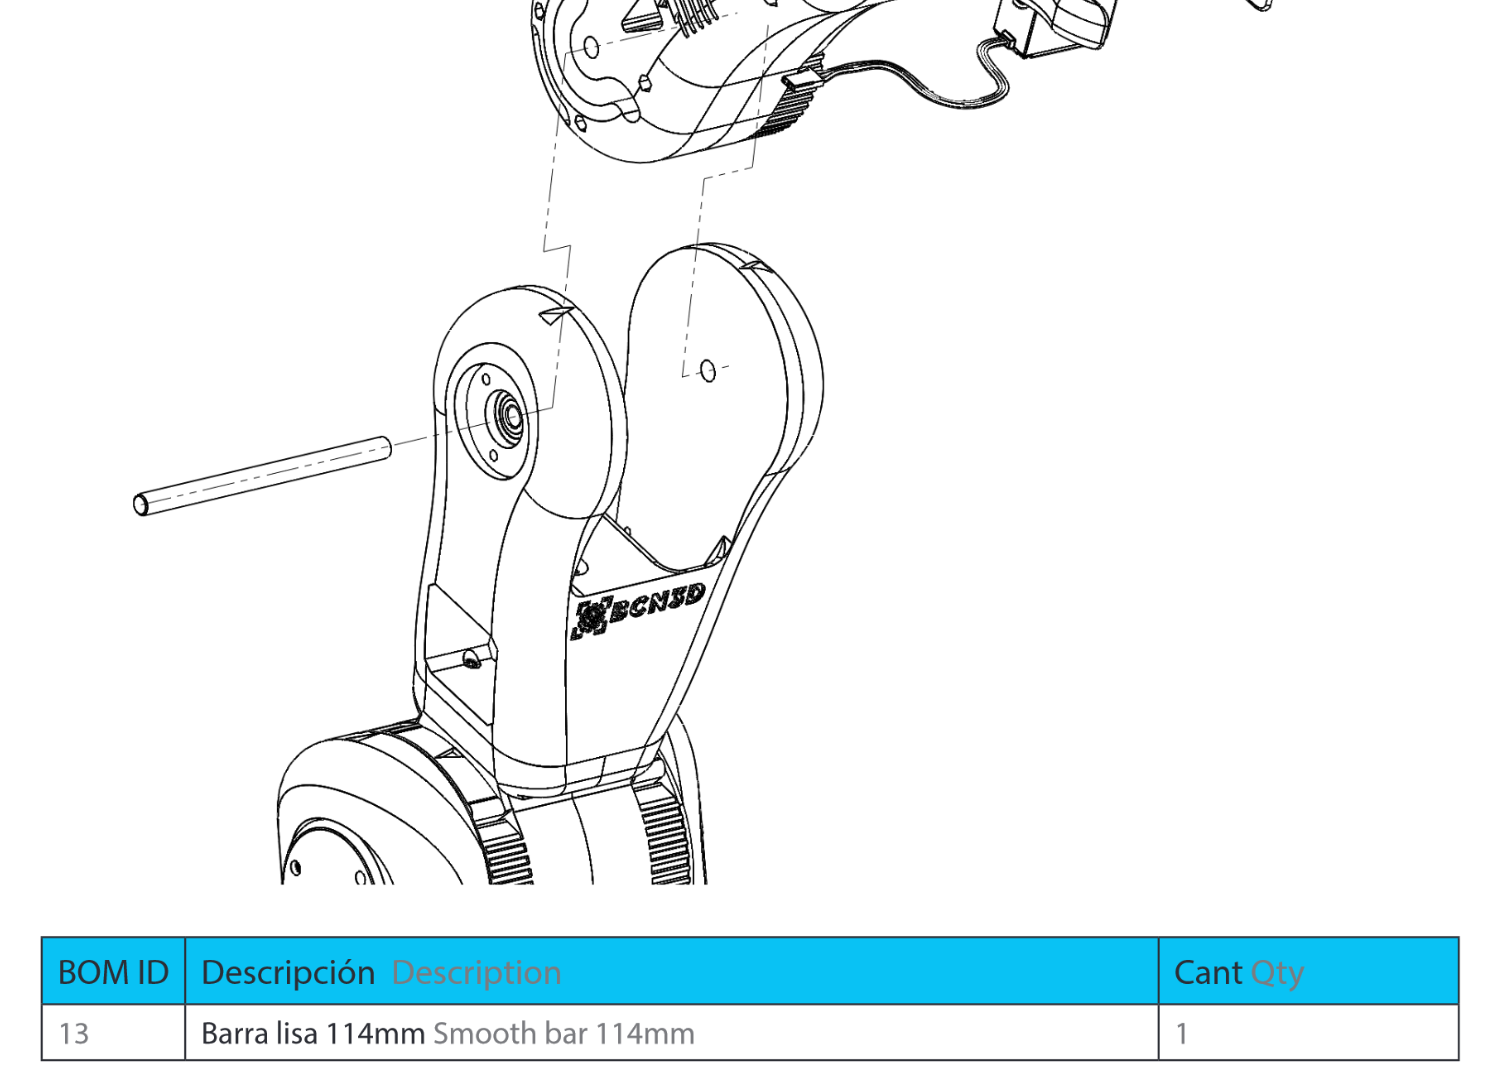
Insert the bearings and push the rod through the hole and through the 3MC assembly. With this, you can easily mount the parts togehter
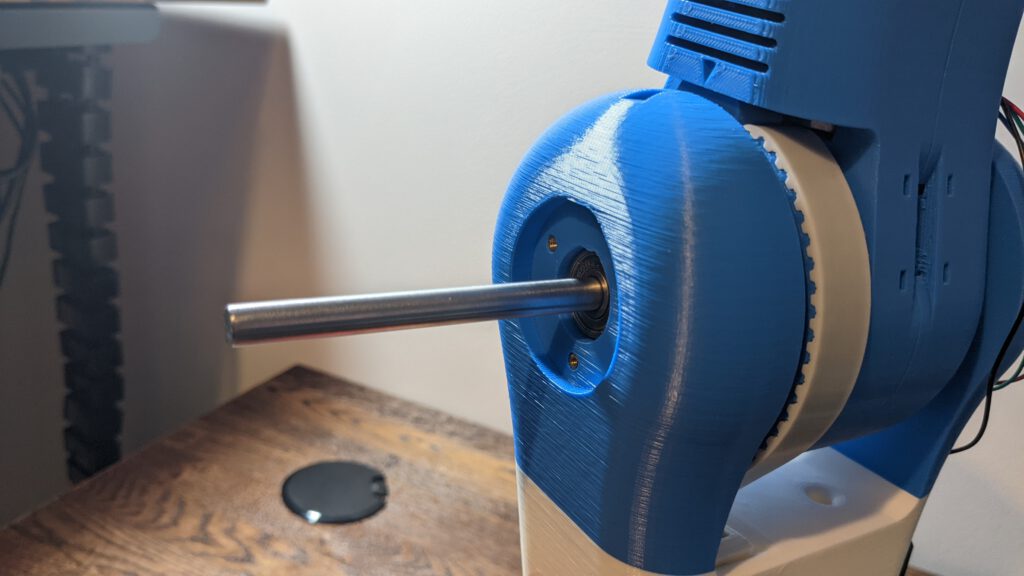
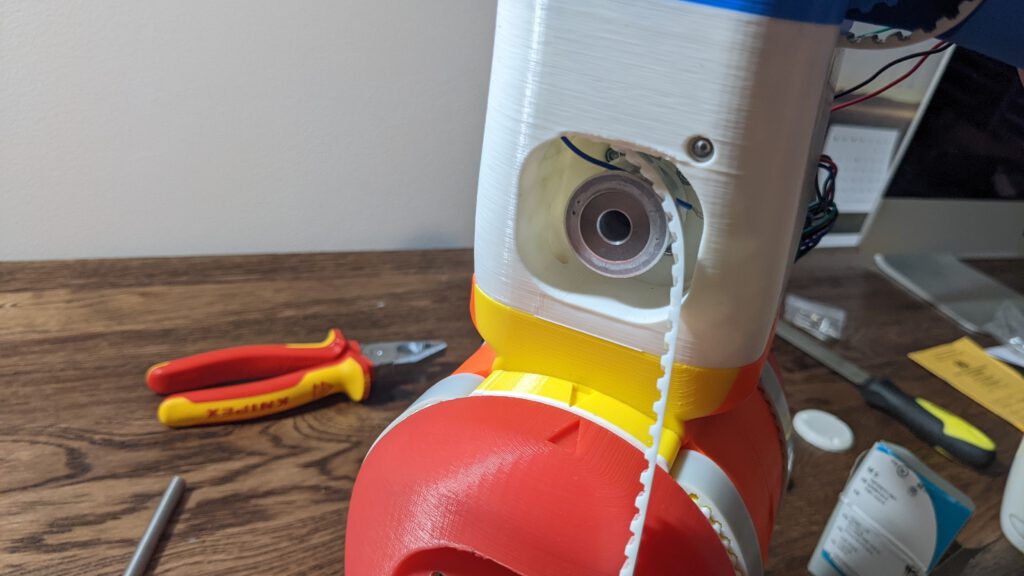
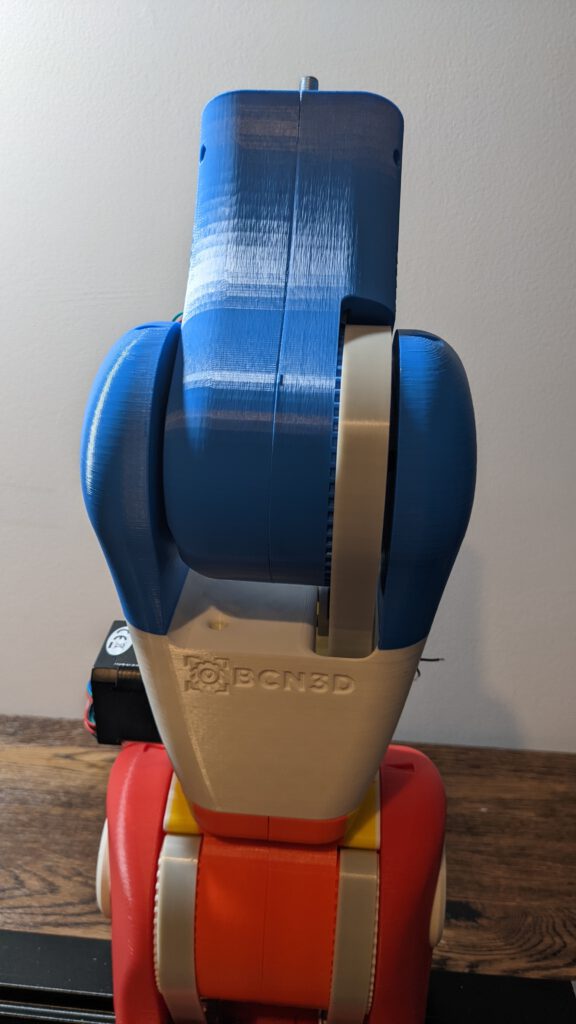
Done. The belt should be mounted, and your result should look like the following picture.
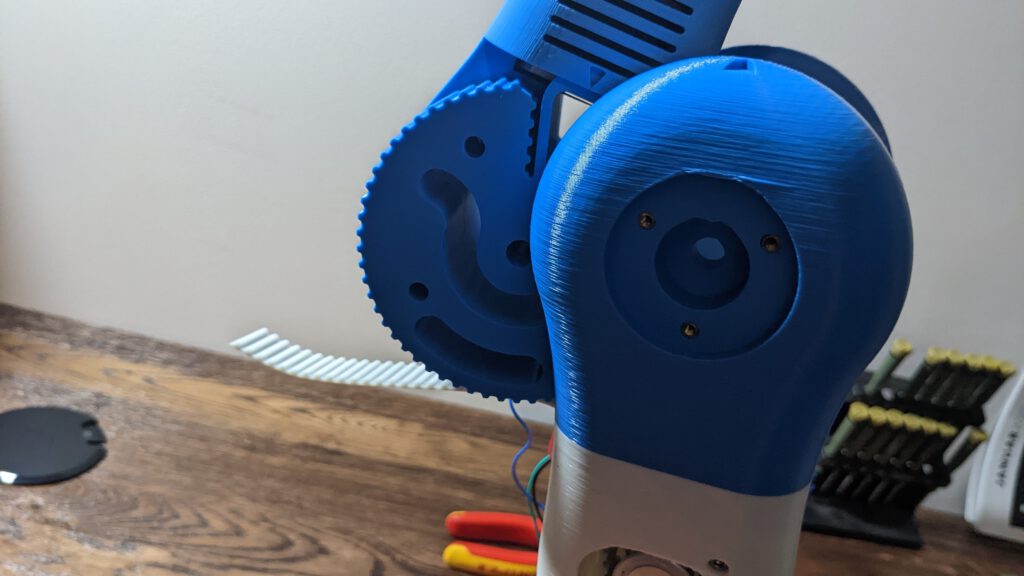
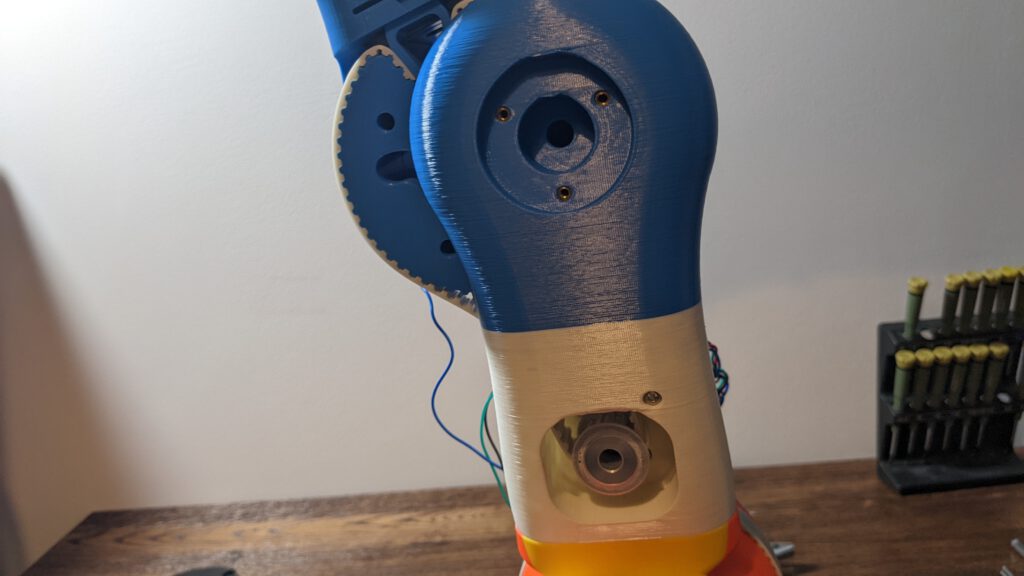
Step 6: Brass inserts
To insert the brass inserts, you need a soldering iron. I heated my Iron up to 572 °F (300 °C). And put the brass insert on top of the tip from the iron.
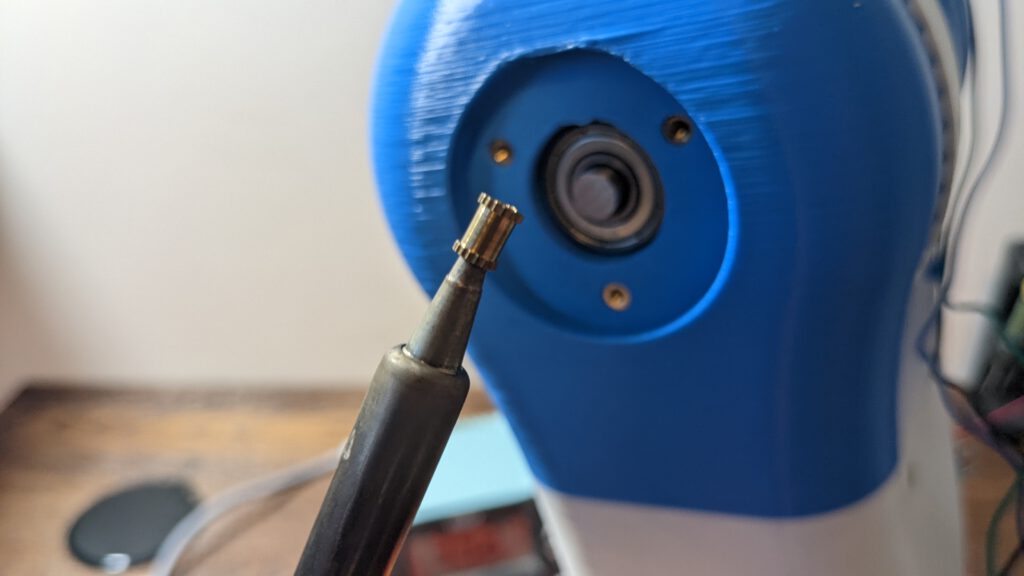
Then I aim for the holes with the tip and briefly push the insert in the plastic.

You could push them deeper than shown in the picture. I made this mistake and one of the six inserts is already loose and has no grip anymore.

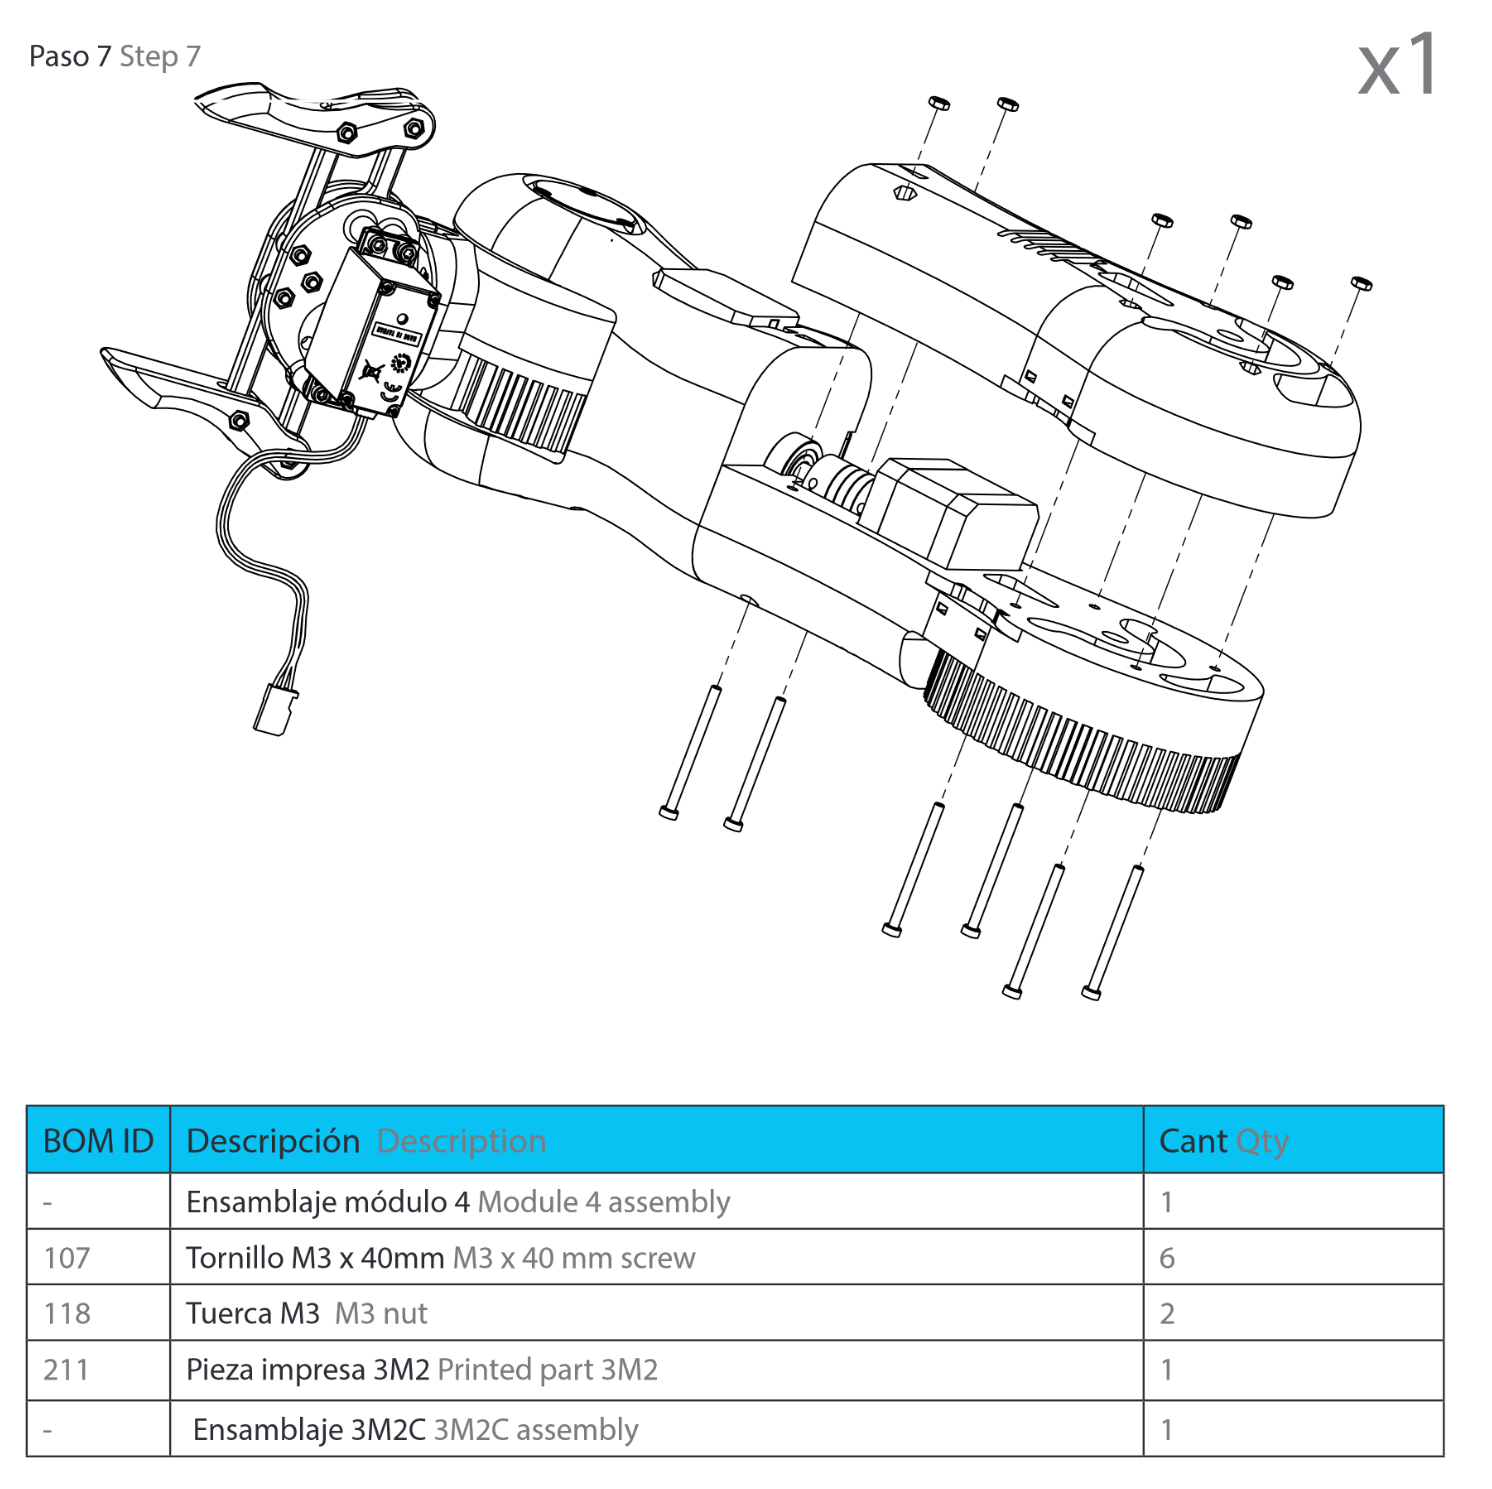
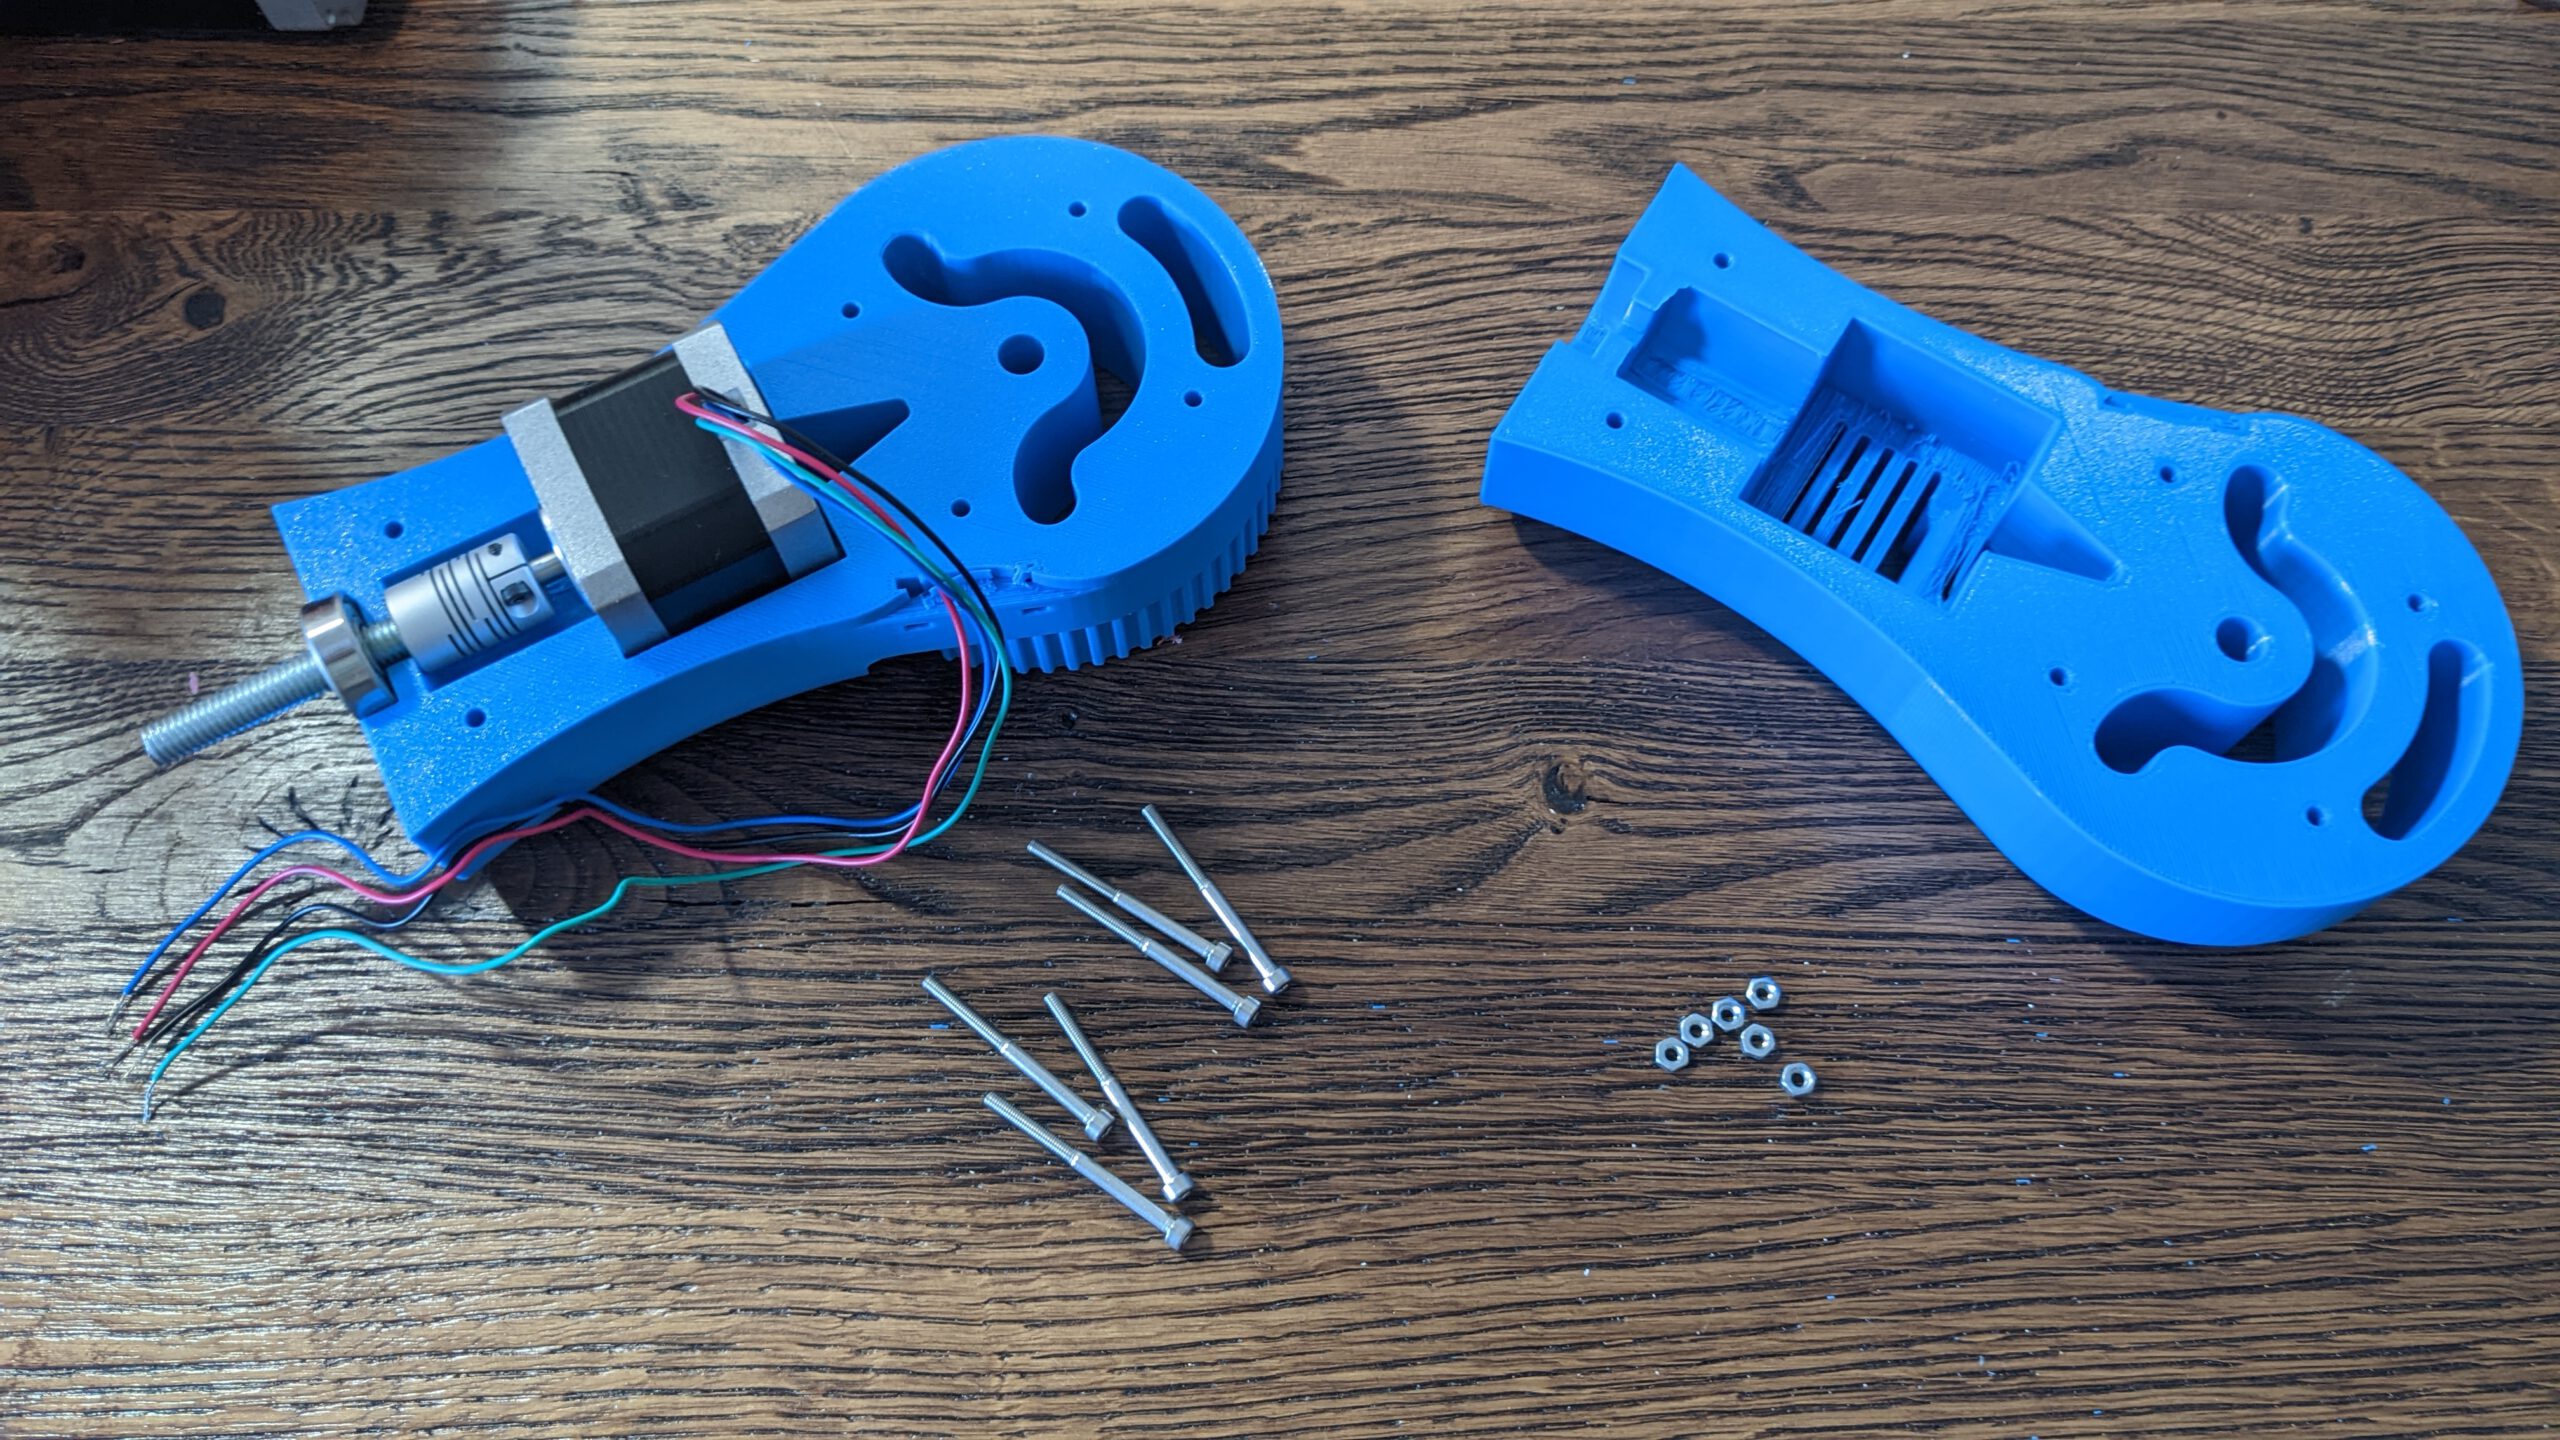
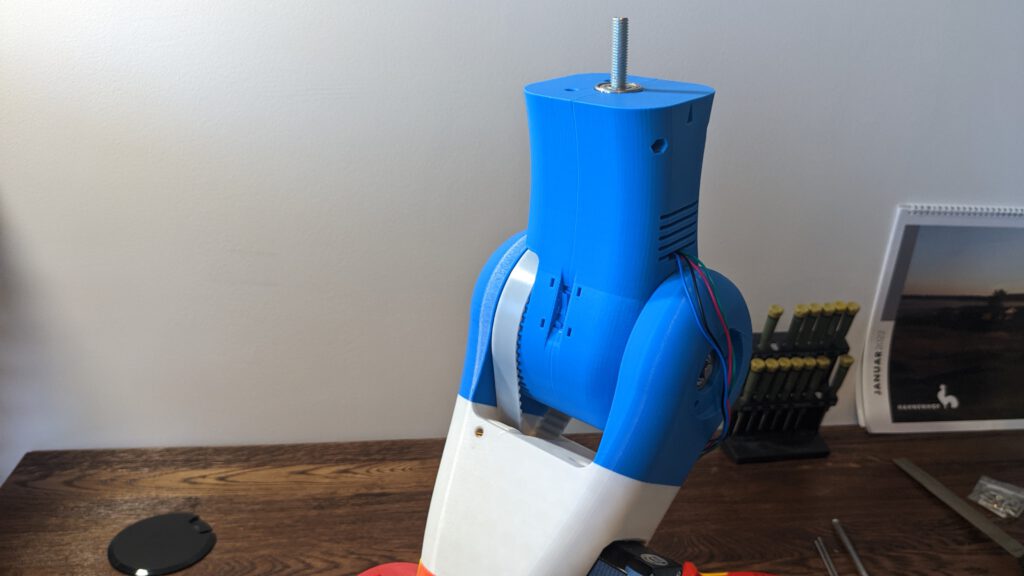
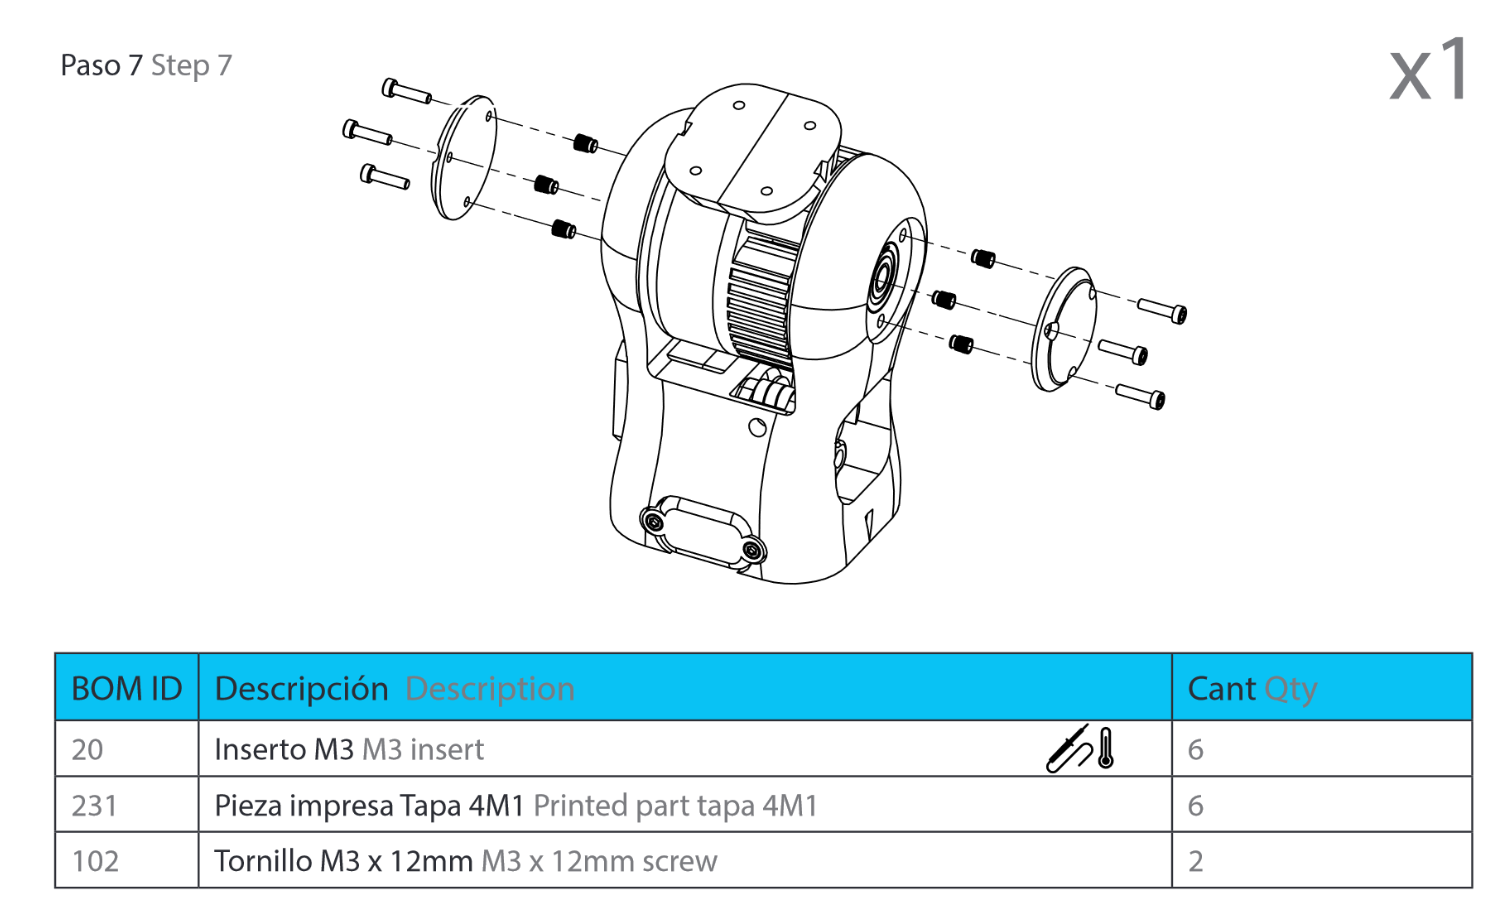
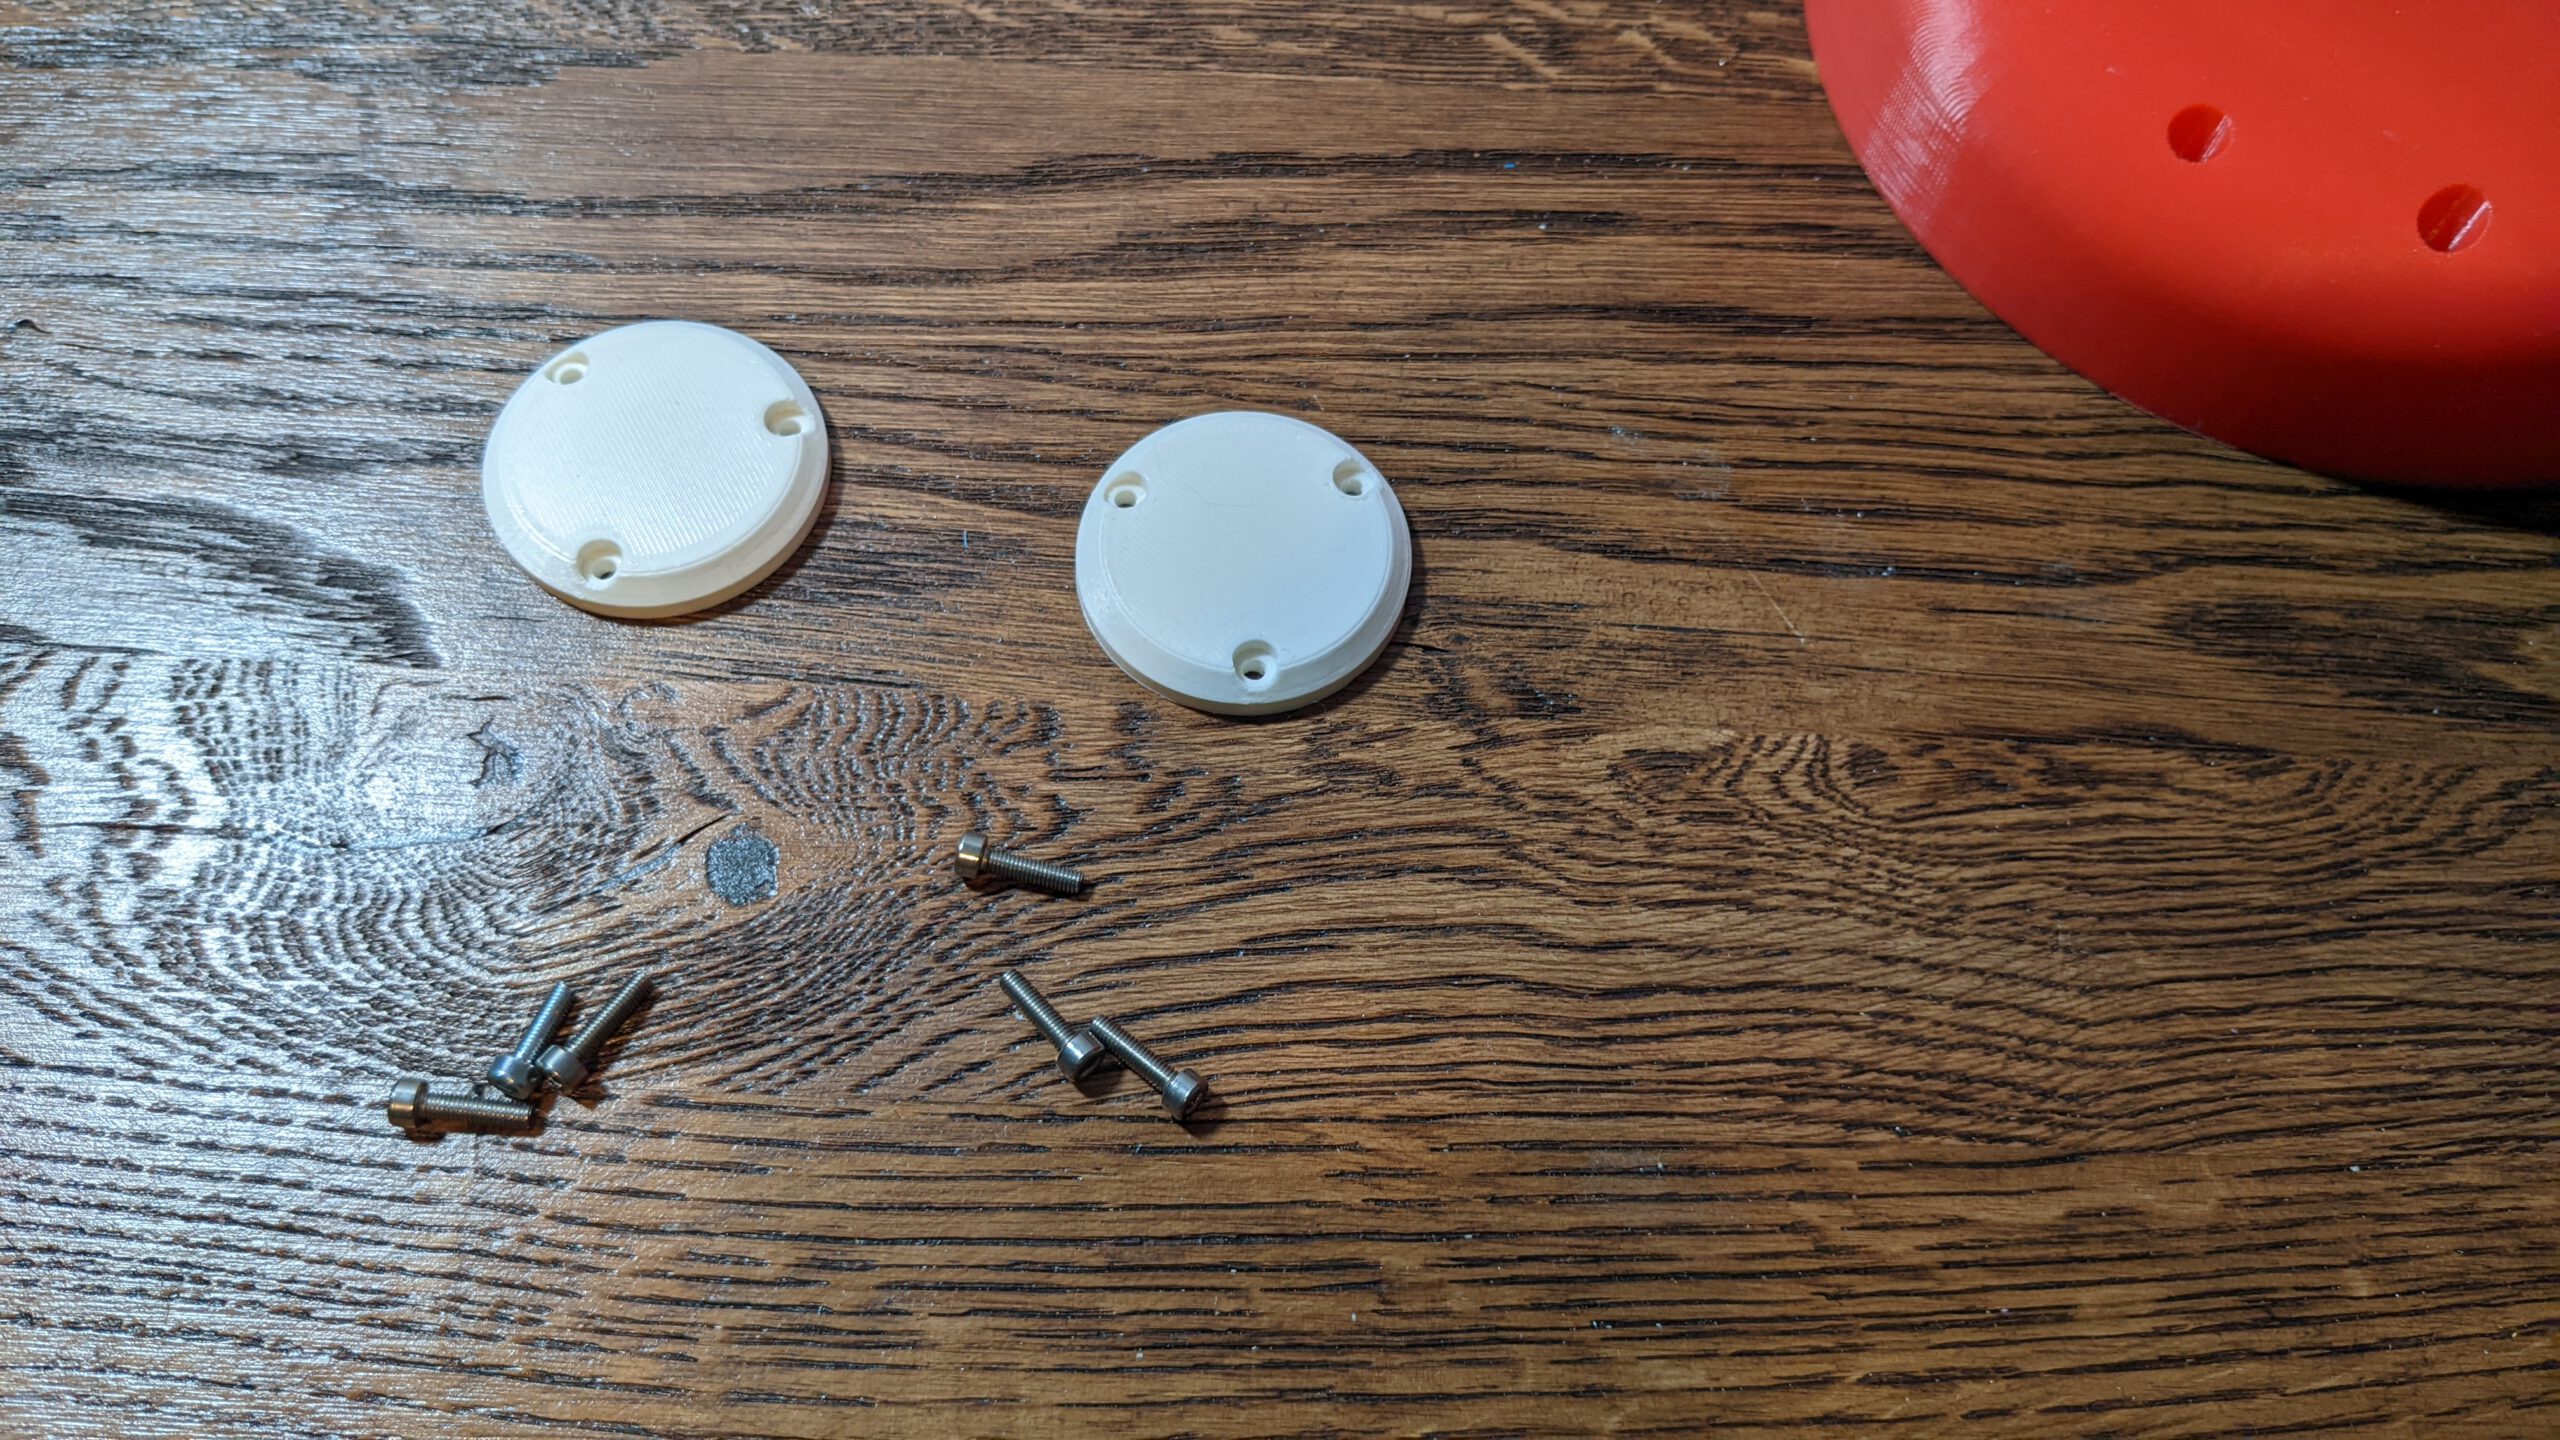
Step 7: Cover
After step 6 you can now easily screw in the covers.
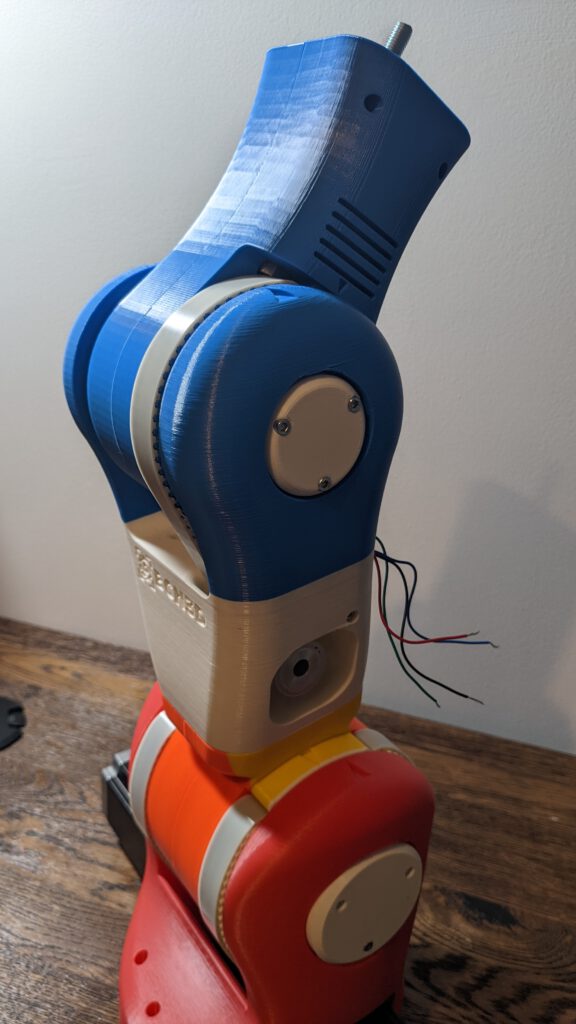
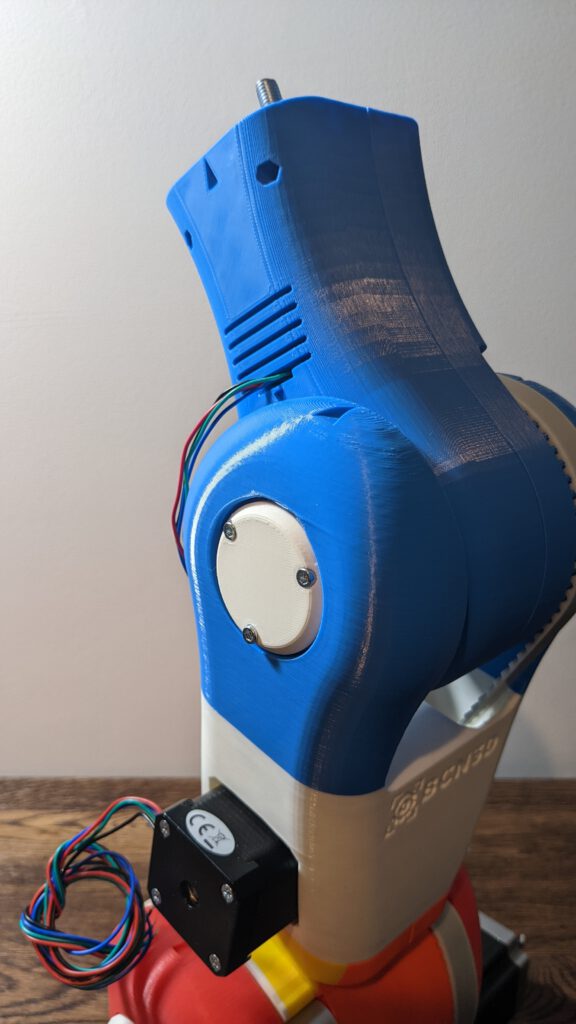
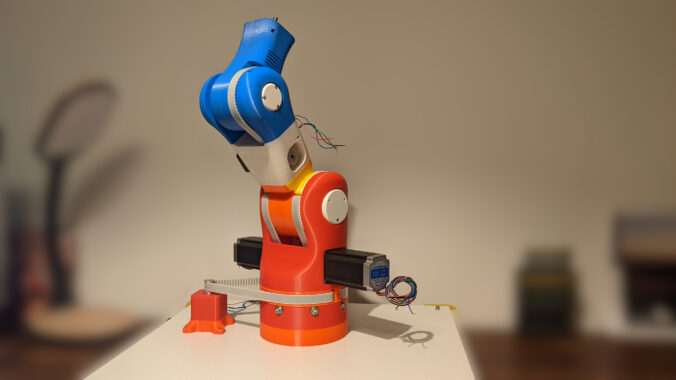
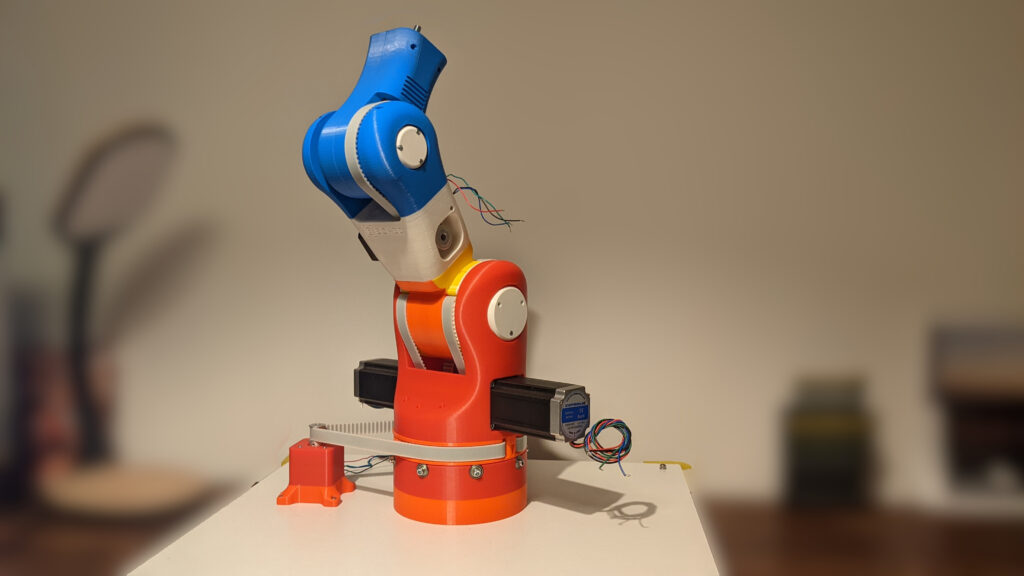
Result Part 9
Leave a Reply