
In this part, we’ll implement the concept from last week’s post. We will print the brackets and mount the DIN rail. If you missed the concept, read more in the last block post. If you want to learn how to install the drivers, stay on this page. Let’s get started,
DIY Moveo Part 12: electronics mount
This post is only about the upcoming electronics mount design. I changed a lot, I found it very difficult to came up with a design. The first design was some kind of compact housing like the original design with the PSU included. The second one, was a compact housing without the PSU Included. And the […]
Preparation


BOM for this part
{
"message": "Bad credentials",
"documentation_url": "https://docs.github.com/rest",
"status": "401"
}
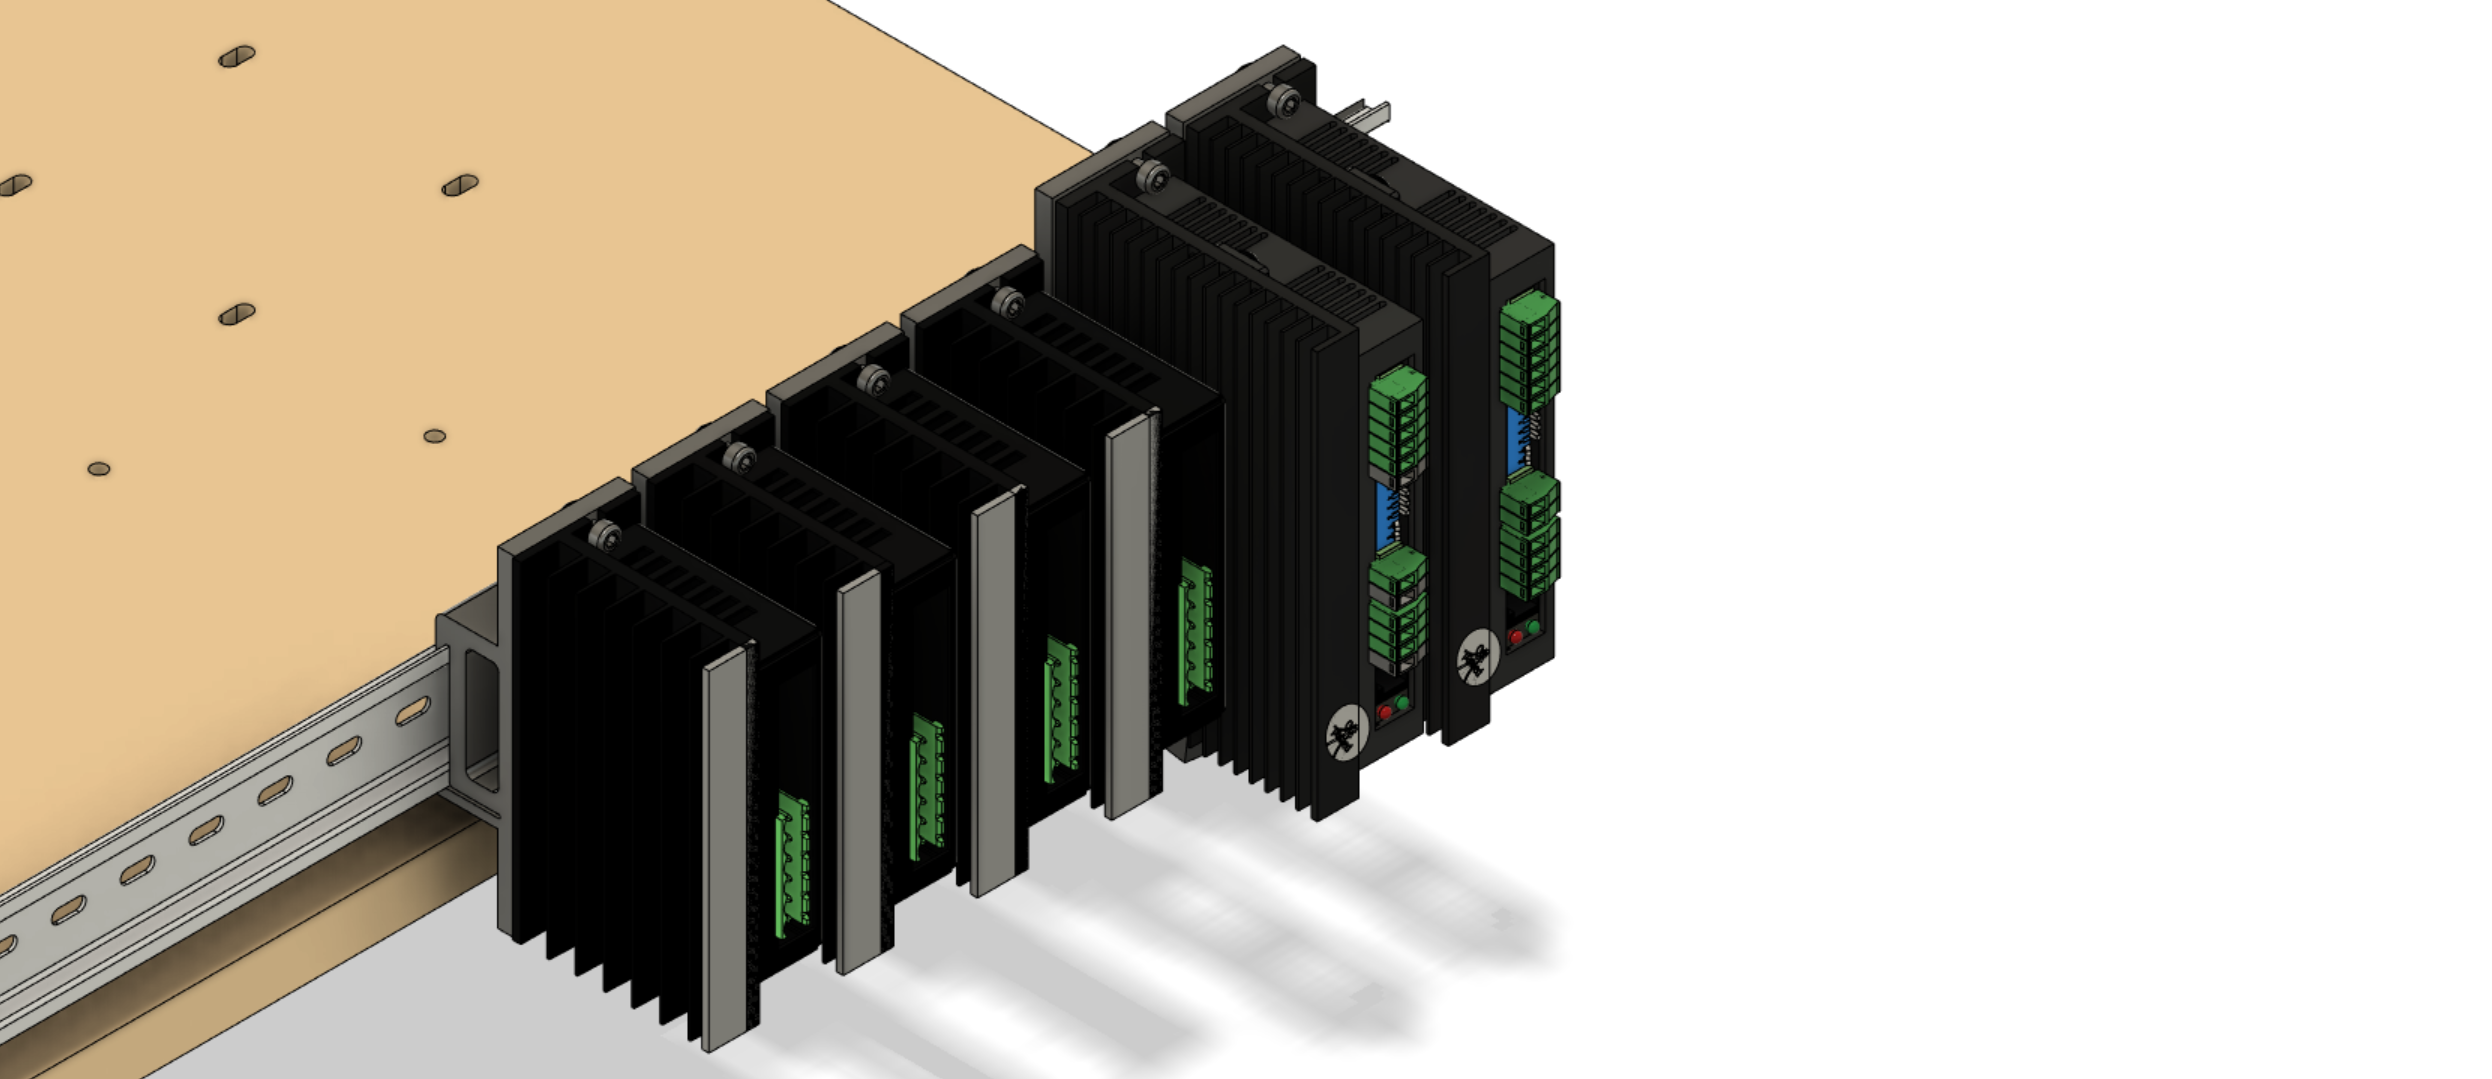
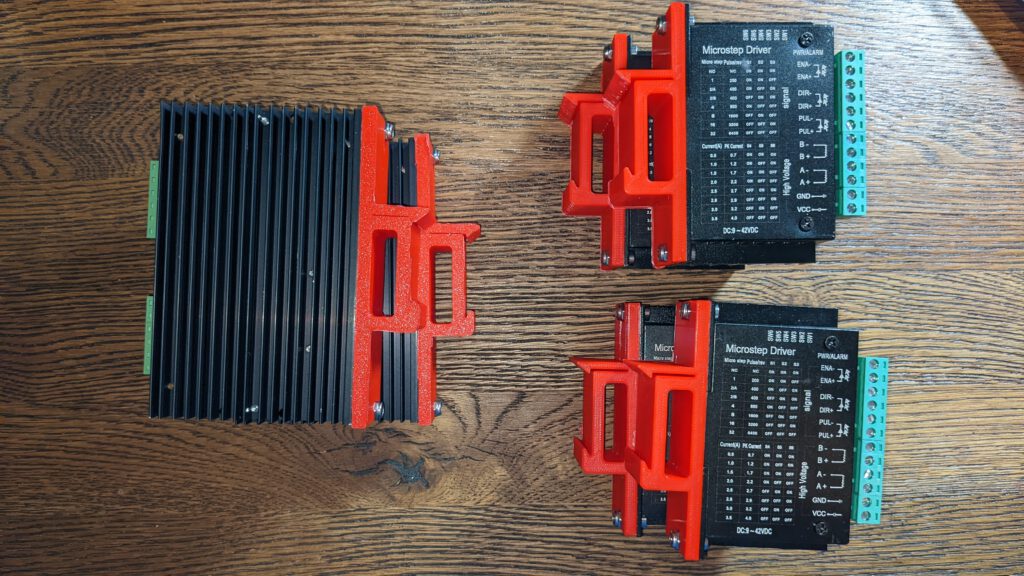
Step 1: Mount Driver brackets
Install the four brackets for the TB6600 and the two for the DM556 with the M4x10 mm Screws and the M4 lock nuts. After the installation you should have this pictured result
Step 2: DIN rail mount
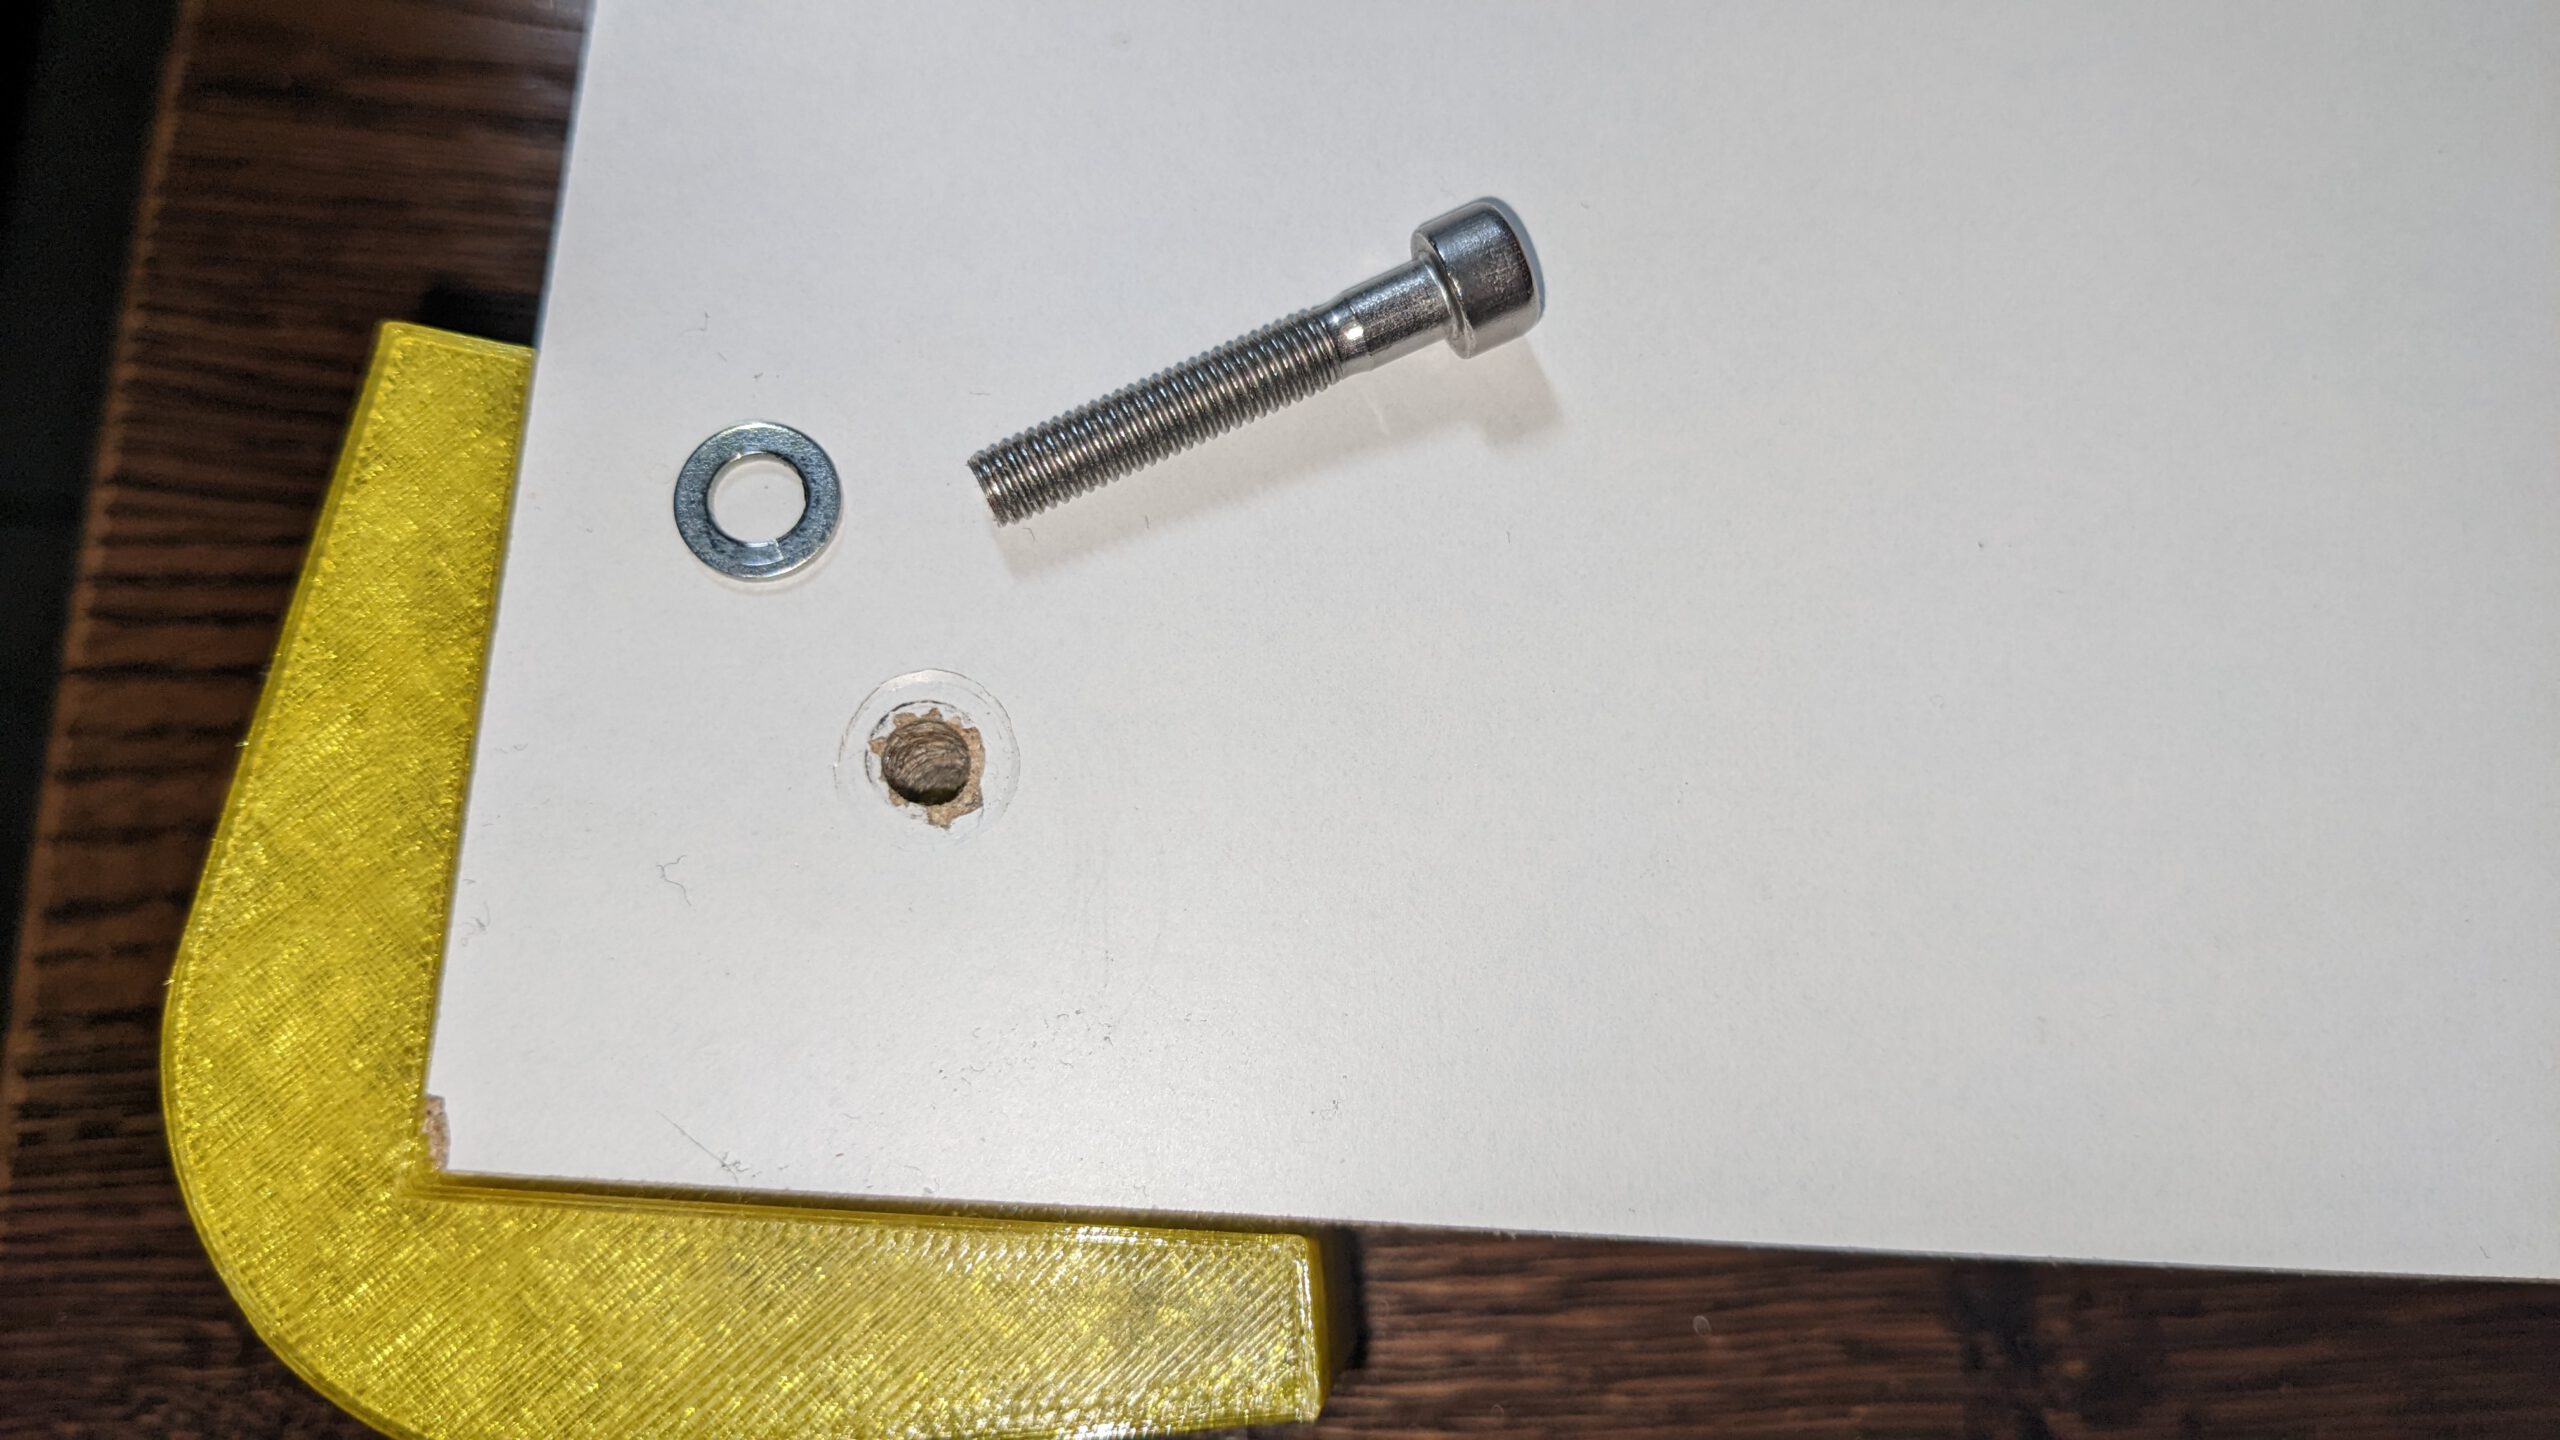
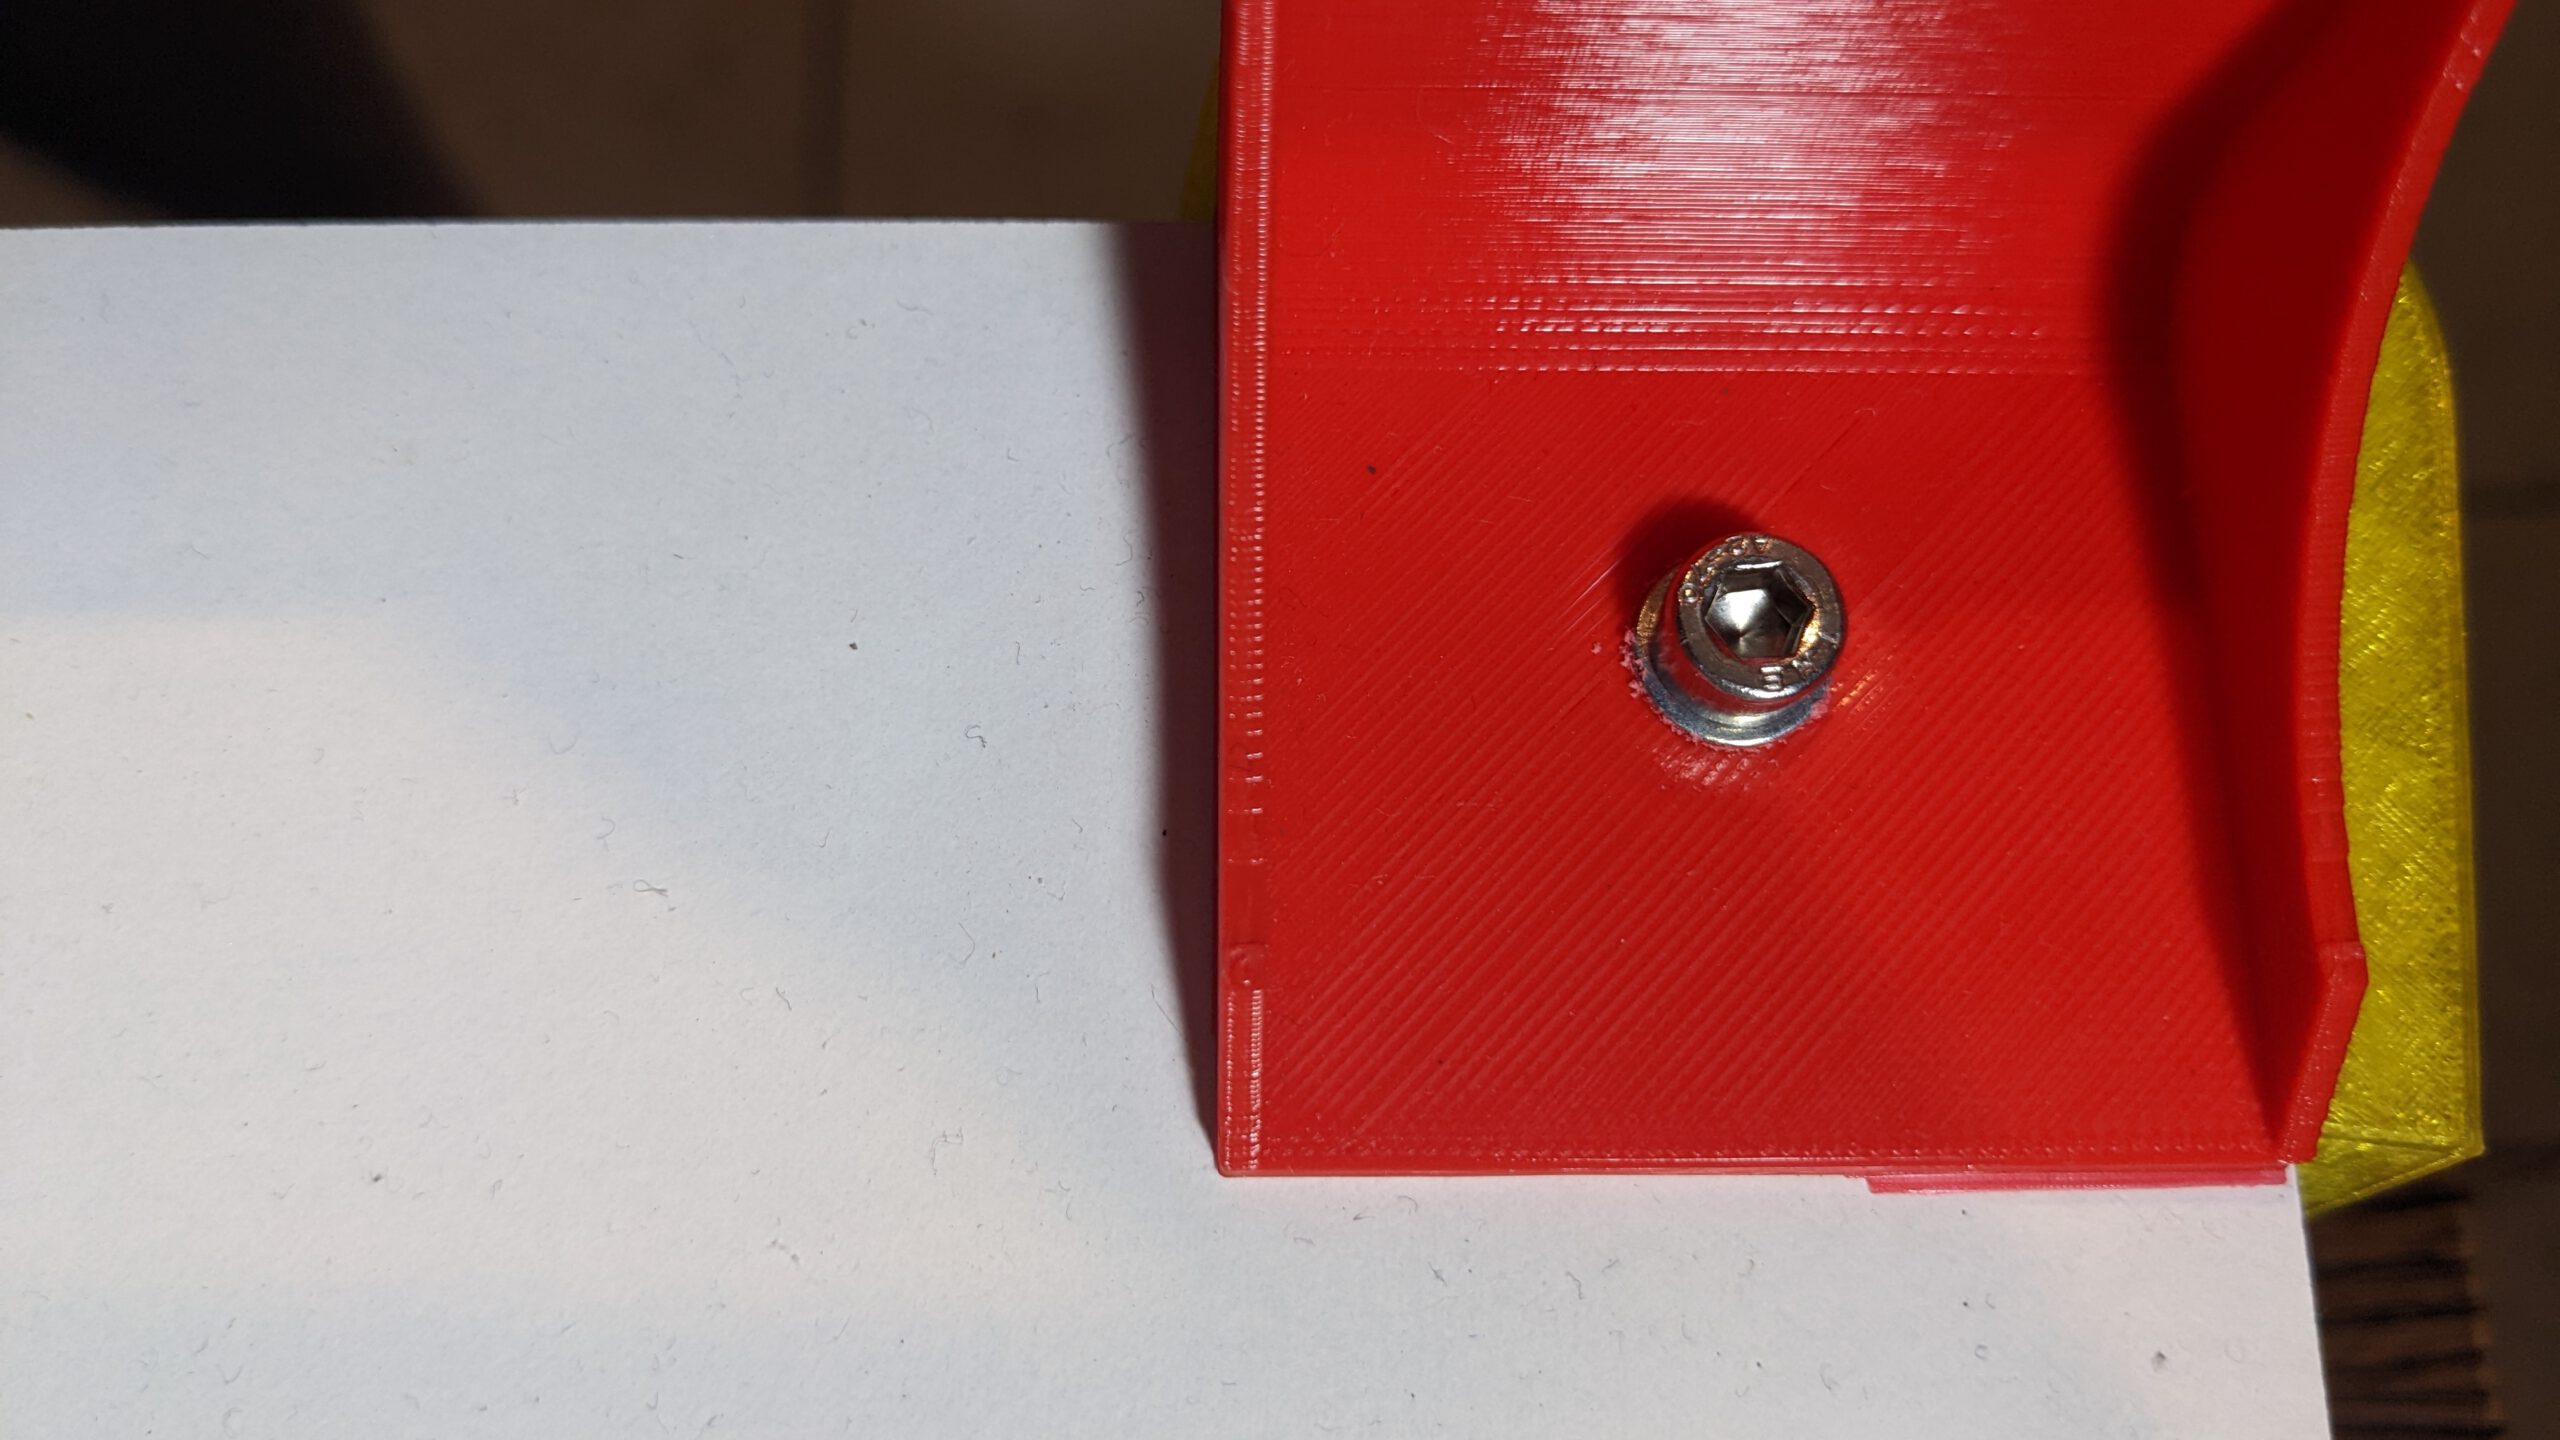
Cut the DIN rail to a 55 cm peace. Unscrew two posts and replace the M5x30 screw with two M5x40 screws as shown in the picture.
Step 3: Mount DIN rail

Mount the DIN rail with the remaining four M4x10 screws and lock nuts.
Step 4: Install drivers
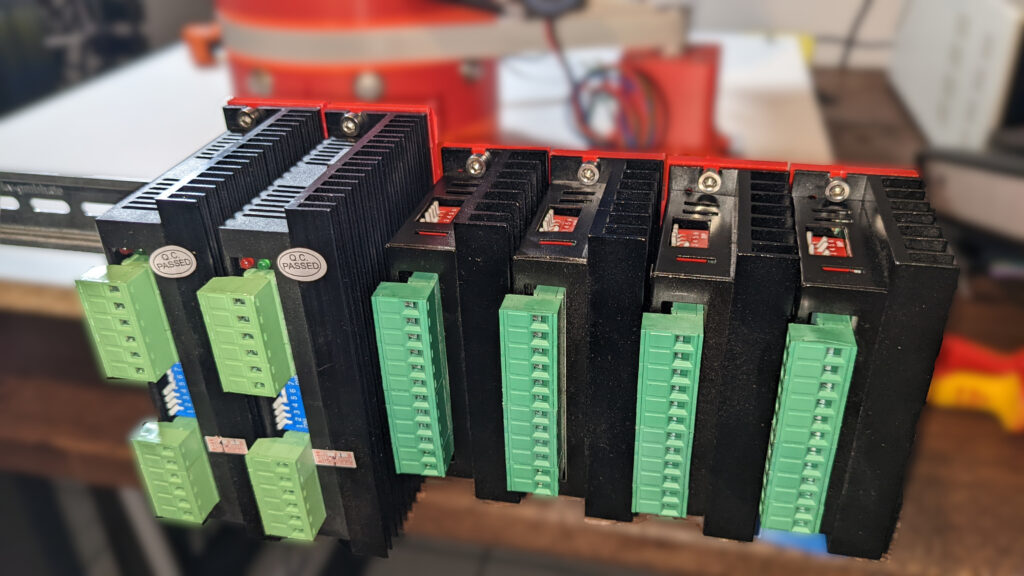
Click the drivers on the DIN rail. Now we have our first electronics mounted in this project.
Leave a Reply