The gripper is an easy to assemble part. I had some issues with the servo horn. I could not find the correct one, so I designed and printed it myself. Because I changed the serv horn I had to change the servo gear, too. For details keep on reading.
Preparation

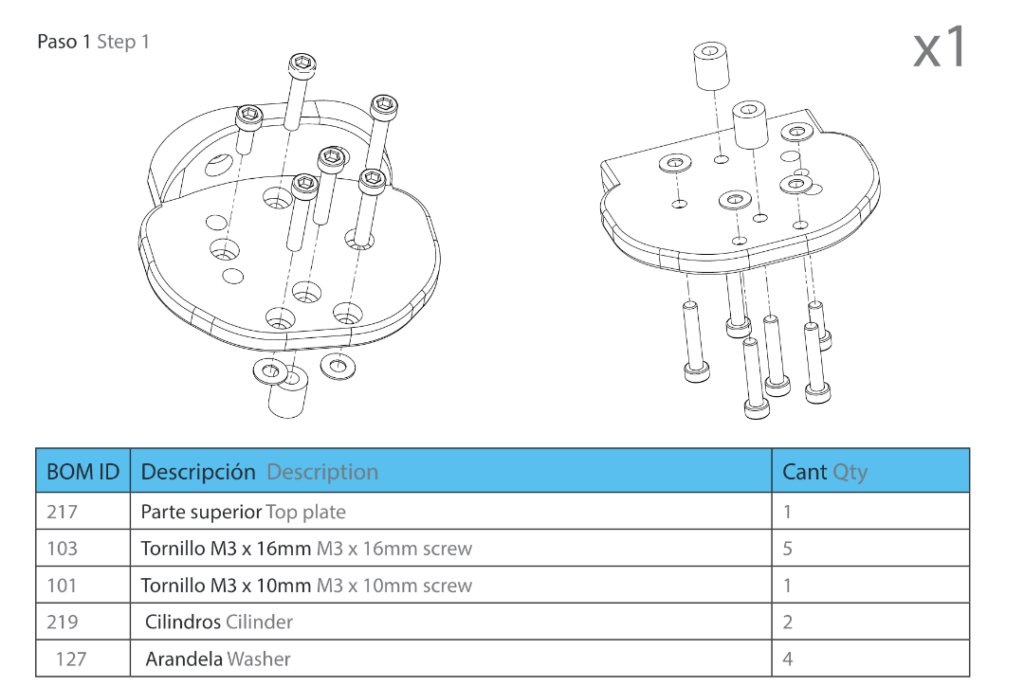
BOM for part 5
Tools
- HX4 Screw driver
- HX3 Screw driver
Step 1: Servo horn
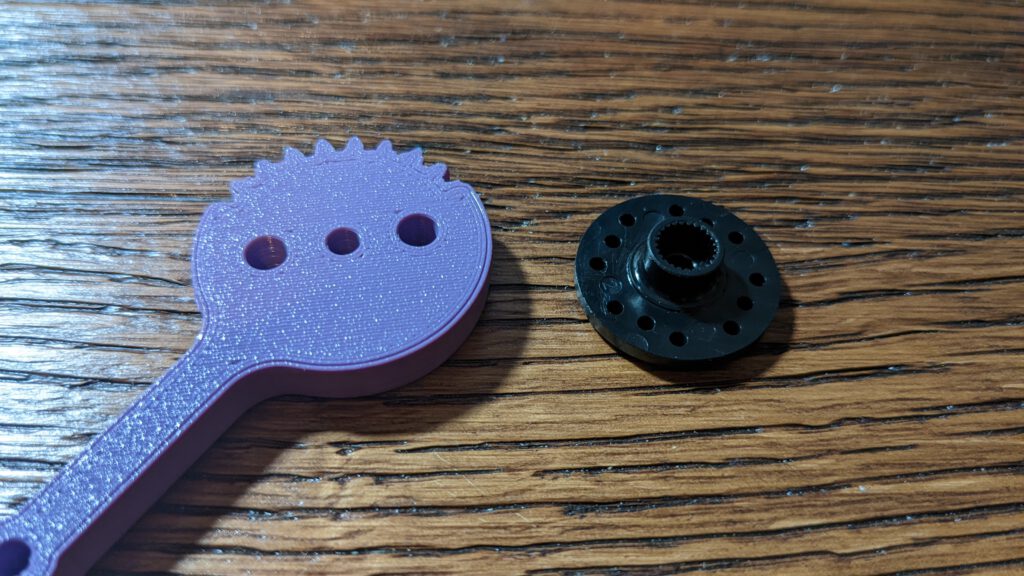
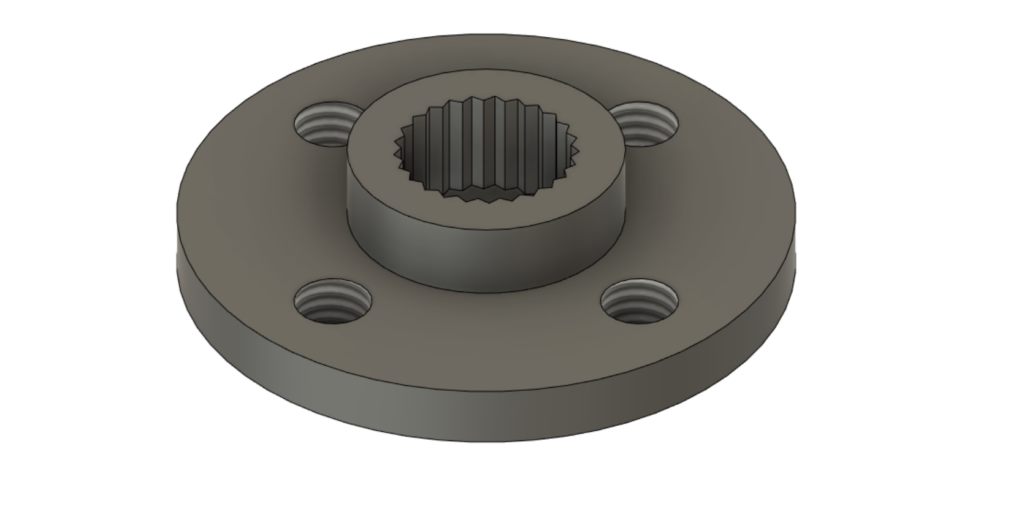
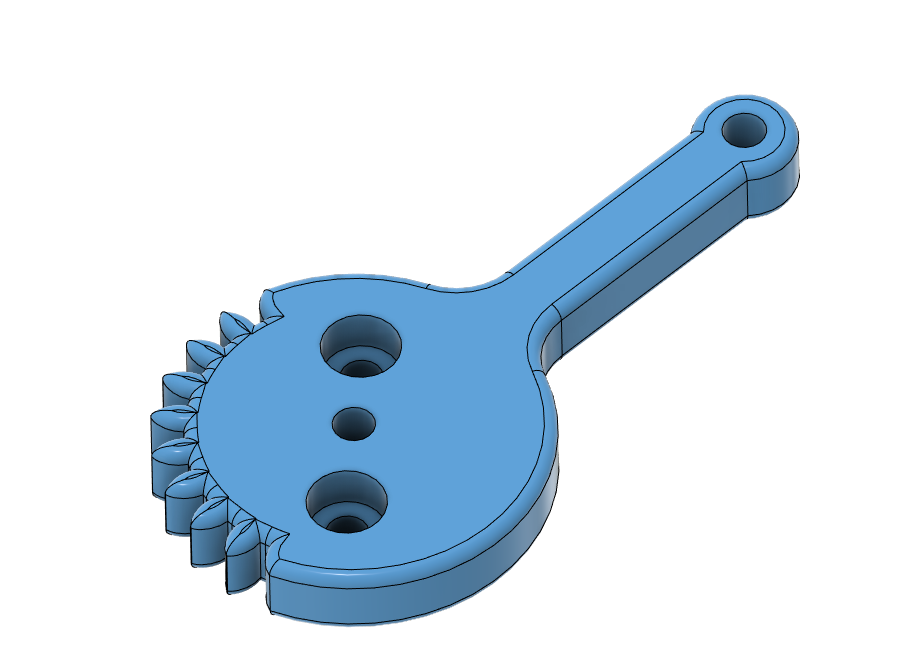
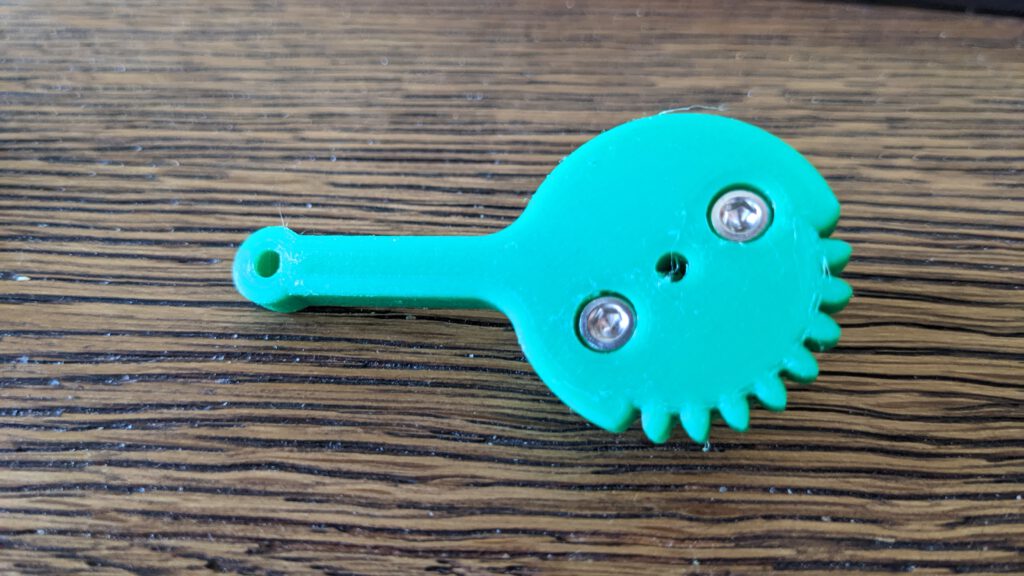
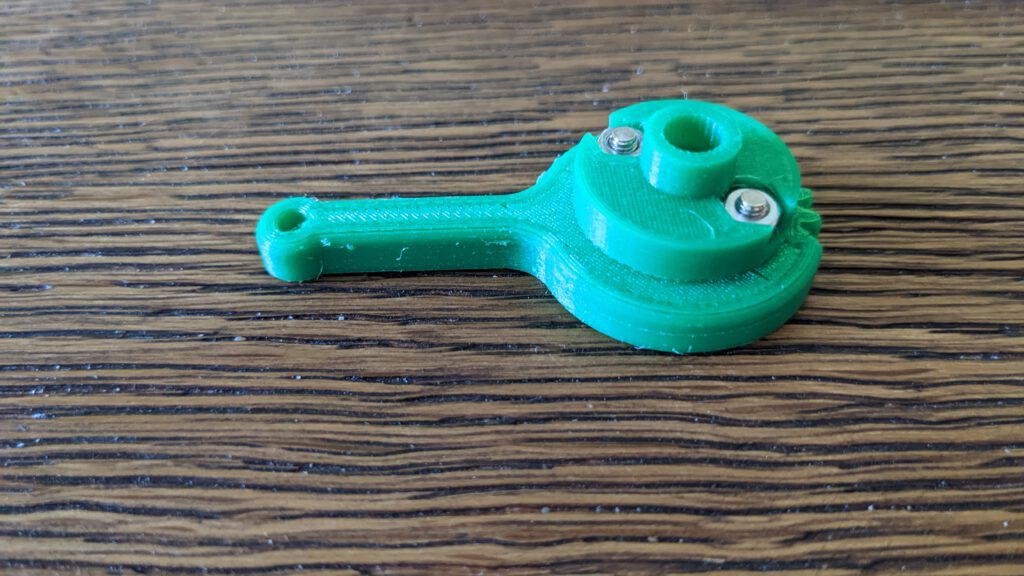
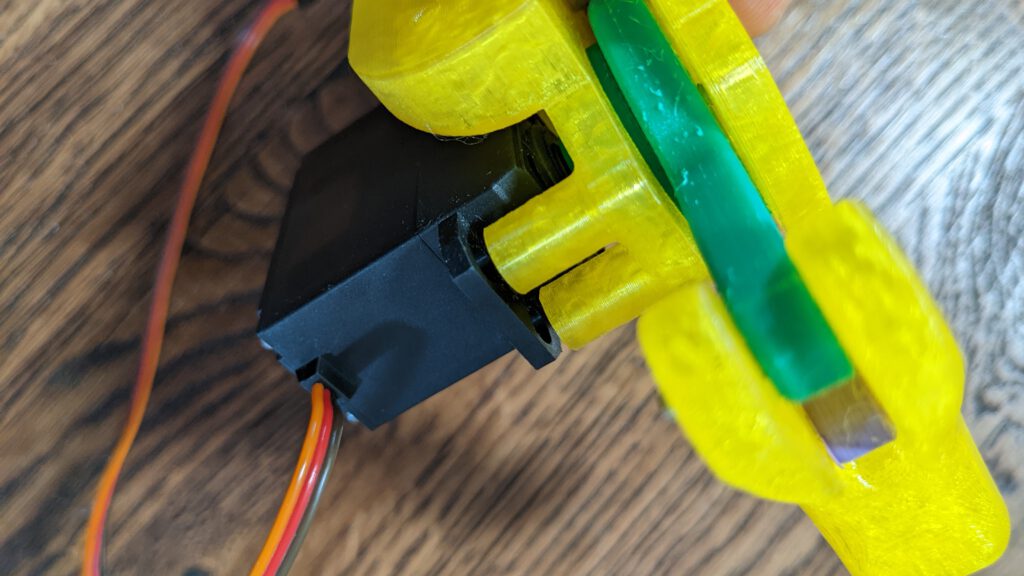
The servo horn that comes with my servo does not fit to the pivot arm. So I had to model my own servo arm.
Thanks to this tutorial, I was able to model my own servo horn. I uploaded my design to thingsverse and committed the STL to the repository.

But this does not work either. I remodelled the horn again, but now the servo gear arm, too.
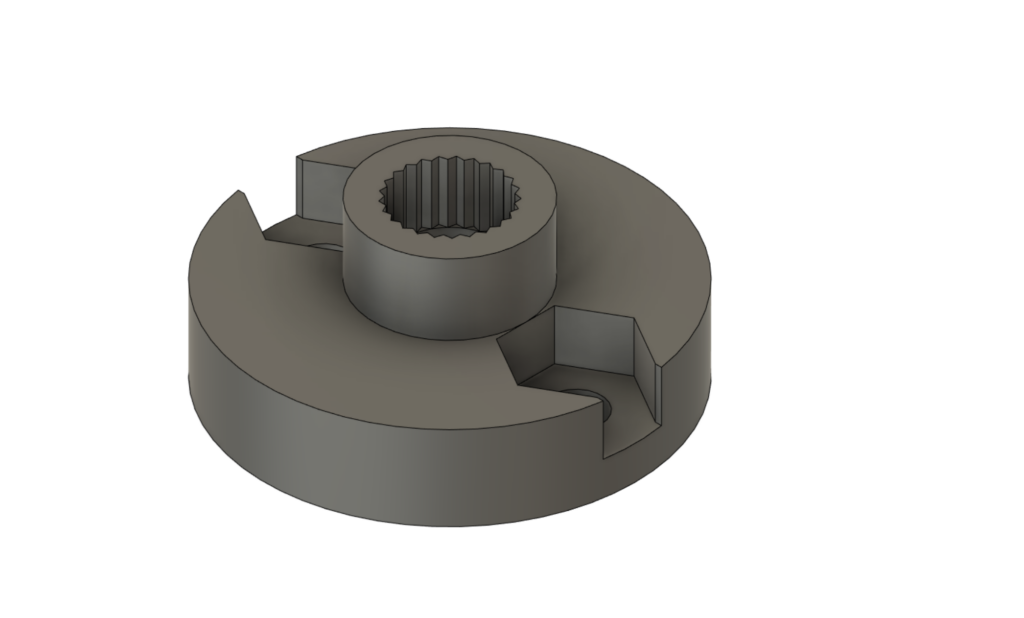
This servo horn works perfectly with the new Servo gear together.
Step 2: Servo horn assembly

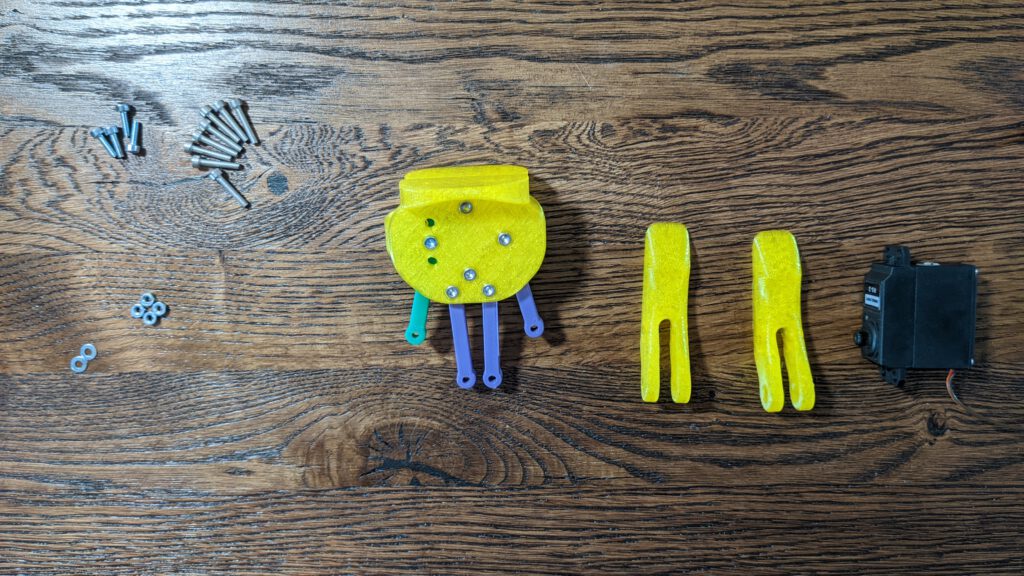
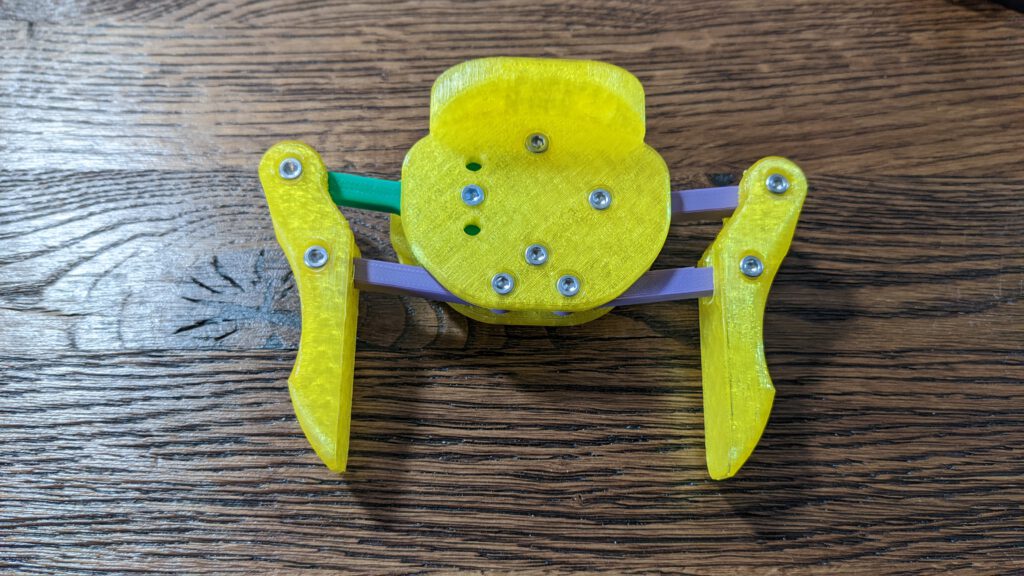
Building this is quite intuitive. You can follow the instructions above. After this, you should have these as result:
Step 3: Gripper assembly

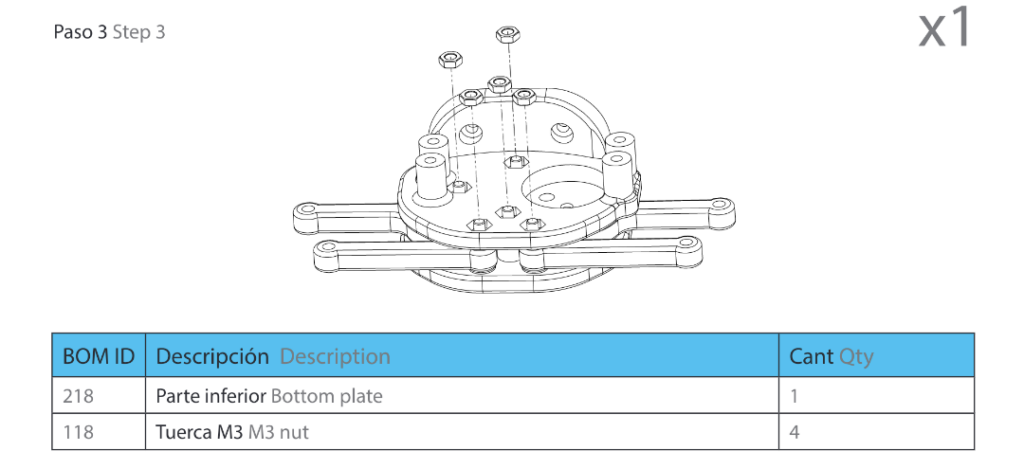
As mentioned in the previous part there where no surprises by this assembly. After this step you can install the gripper ontop of the arm. The servo will be mounted at last.
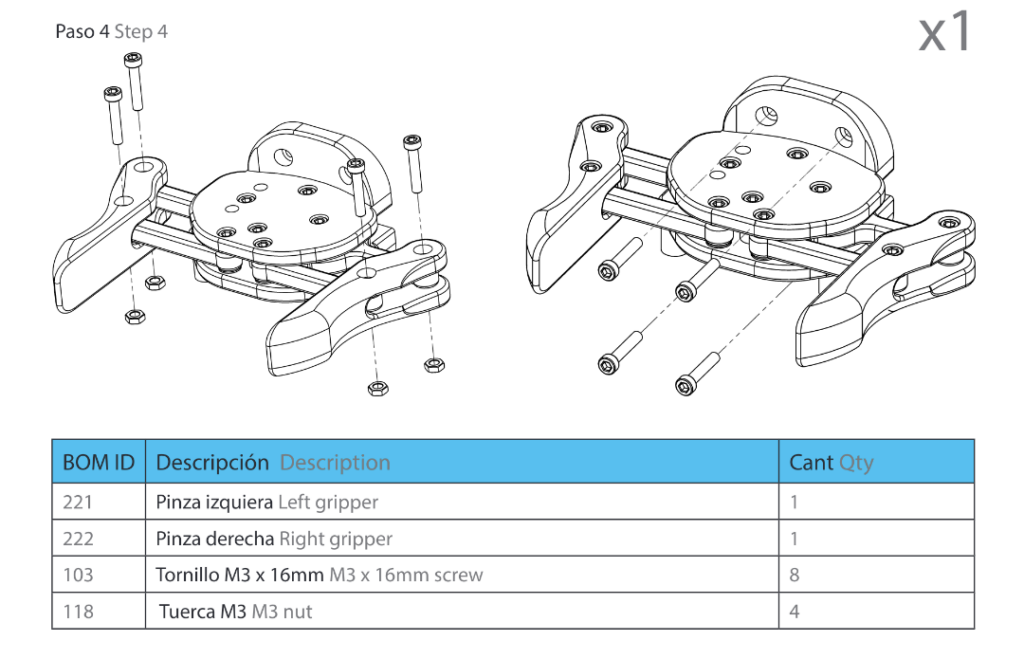
Step 4: Gripper mounting
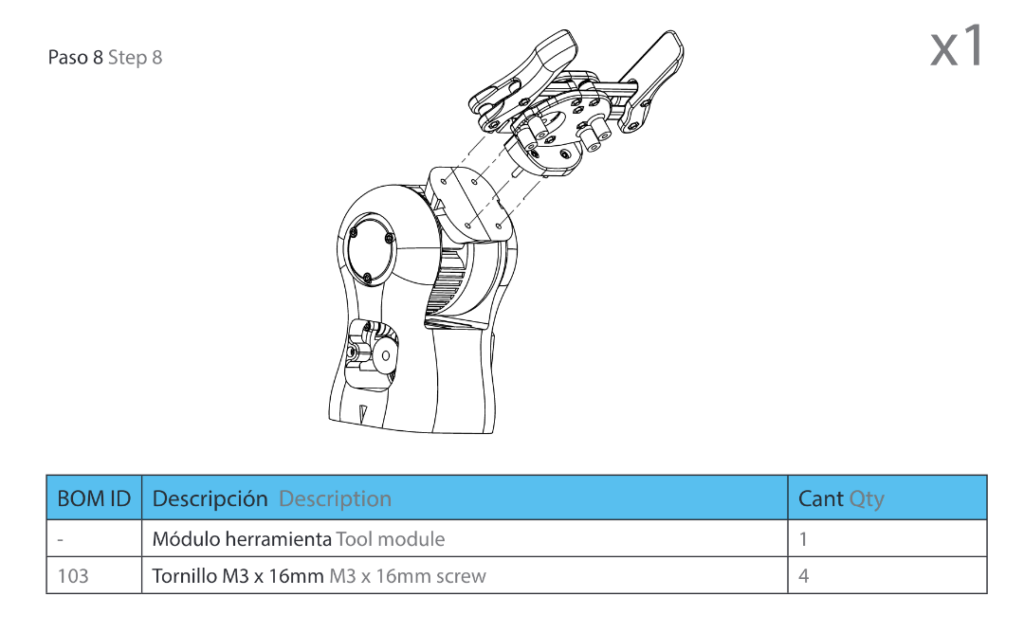
Important is to mount the gripper before you mount the servo because you can’t access the bottom screws proper if the servo is installed.

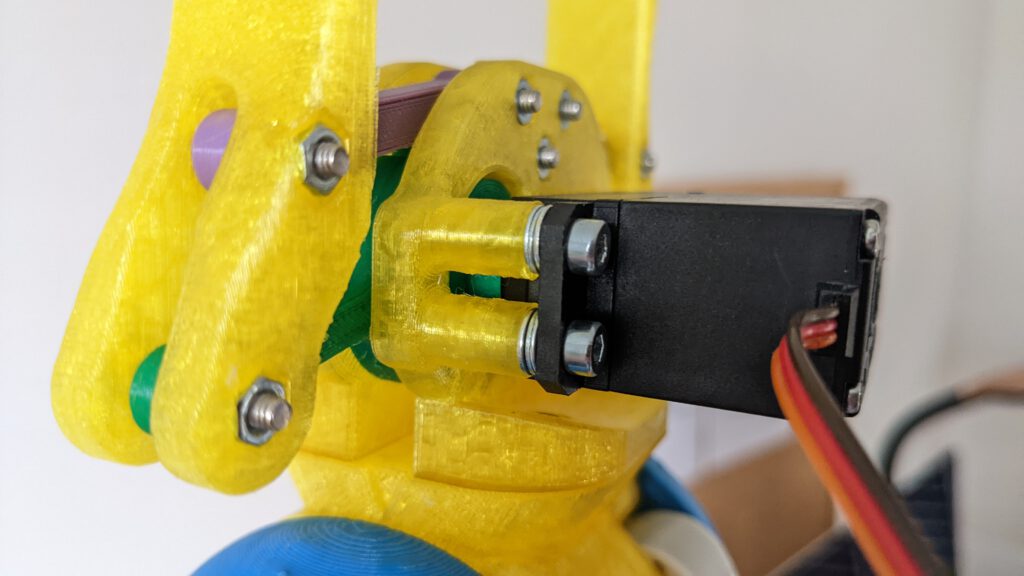
Step 5: Install the servo
I had a spacing problem to mount the servo. There were 3 mm space between the gripper and the servo. To overcome the issue, I added three 3 mm Washers on each mounting point. To screw the servo in, I used four M3x8 mm screws.
Result Part 11
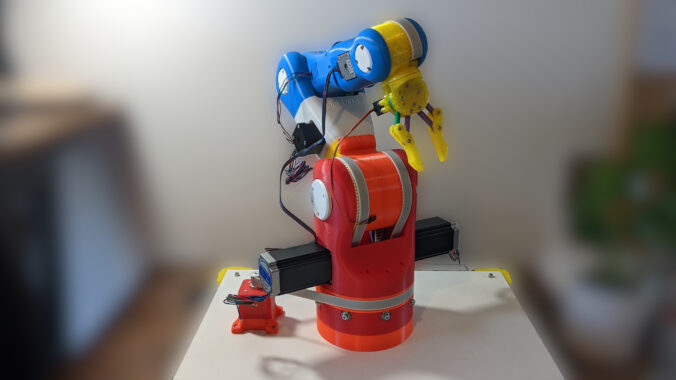
Done! Now we have all mechanical parts installed. We finished the original Moveo BCN3D build. We overcome all difficulties so far.

For the screws going into the bottom plate for the servo, did you tap a M3 thread in the spacers or just force the screws in
I just screwed the screws in. So far it is still no loose. You could machine the model to install an M3 nut from the top. But then you need longer screws.