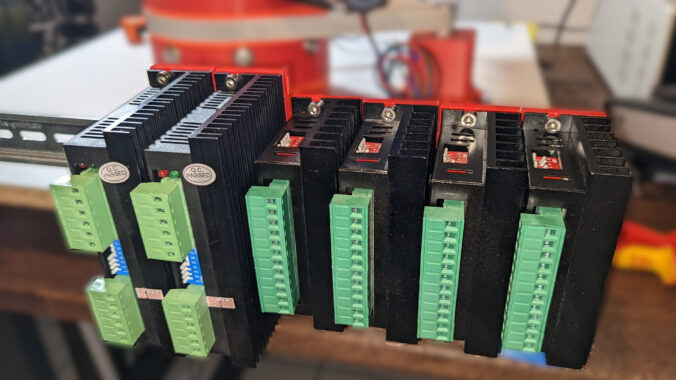
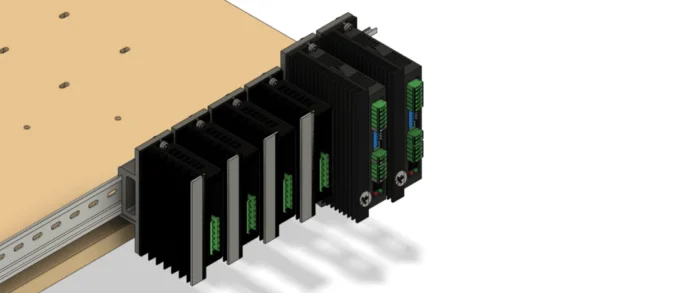
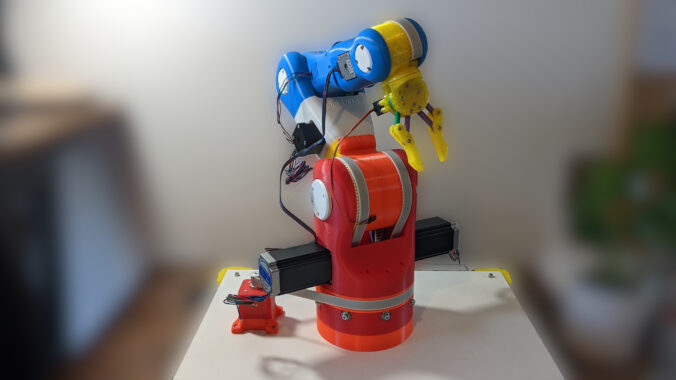
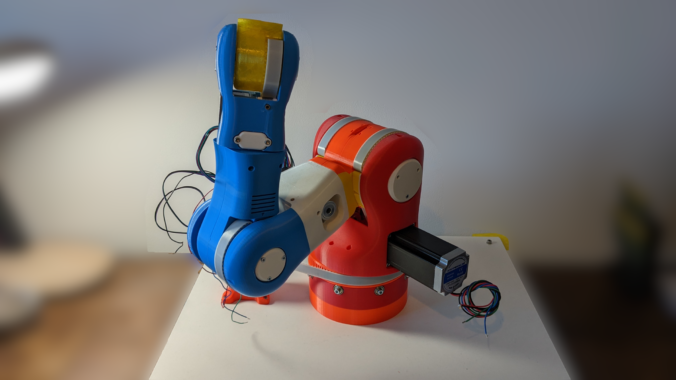
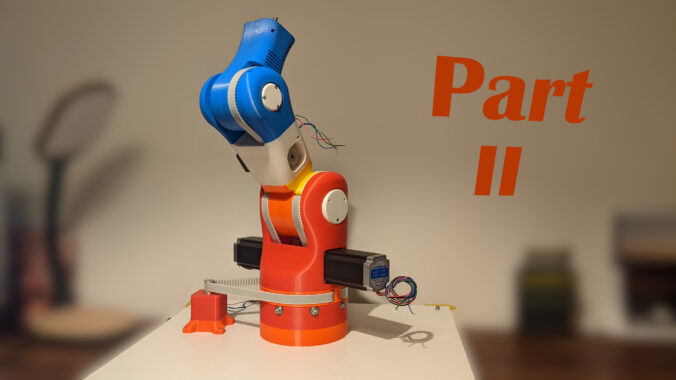
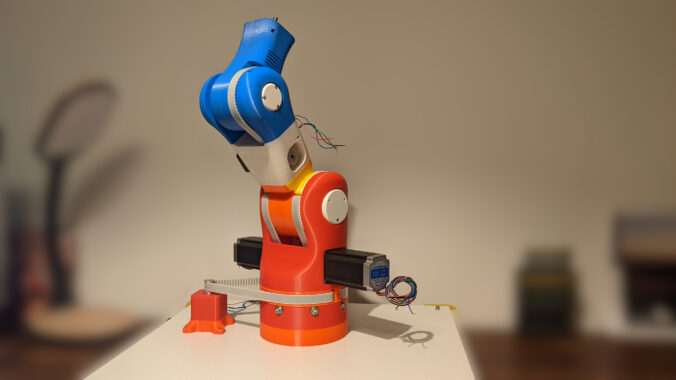
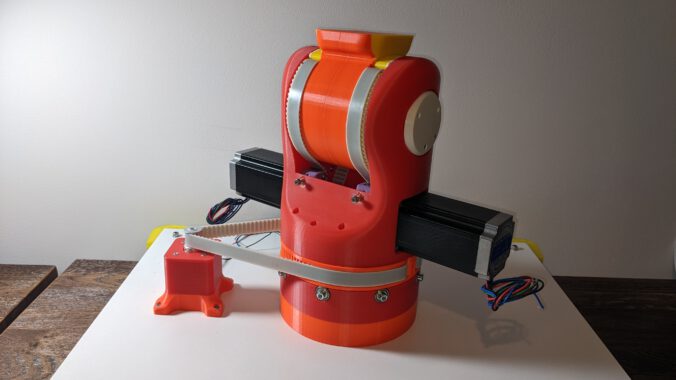
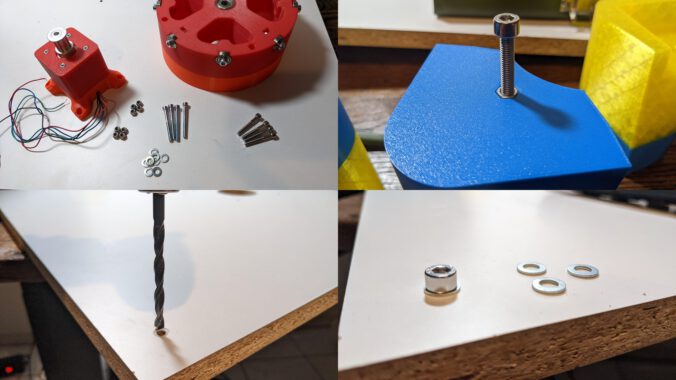
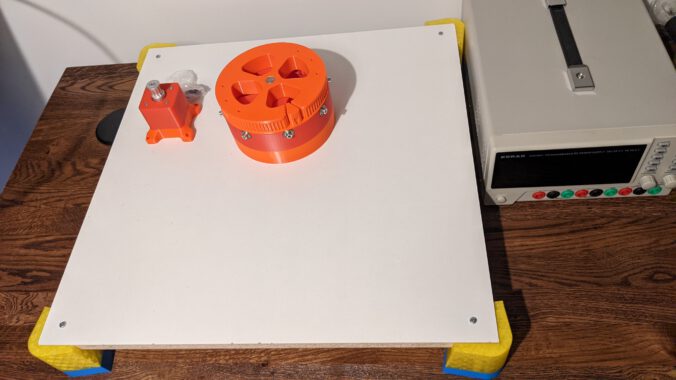
In this part, we’ll implement the concept from last week’s post. We will print the brackets and mount the DIN rail. If you missed the concept, read more in the last block post. If you want to learn how to … Read the rest
Category: Project (Page 2 of 3)
This post is only about the upcoming electronics mount design. I changed a lot, I found it very difficult to came up with a design. The first design was some kind of compact housing like the original design with the … Read the rest
The gripper is an easy to assemble part. I had some issues with the servo horn. I could not find the correct one, so I designed and printed it myself. Because I changed the serv horn I had to change … Read the rest
The 4rd module comes with some issues, that we had to solve. The motor I chose did not fit inside the 4M1 part, and the bad print quality from my 4M1 part forced me to file some layers down. If … Read the rest
This week’s blog post is the second part of the part 9 assembly. We’ll start with the step 4 and finish the Module 3 in this post. If you don’t have read last week’s post, check it out here.
… Read the restThe 3rd module does not come with bigger issues. It was quite convenient to set everything up. In the last part, I made a mistake where I glued the M3 brass inserts into the hole. Now I knew that there … Read the rest
In this part, we will build the “Module 2” of the BCN3D Moveo robot arm. The manual did not show us how we can install the belt at the end. In this post, there is a chapter specifically on this … Read the rest
At first, I would not have included this into the weekly updates because I thought it should be trivial to screw the parts onto the plate. But I had some difficulties doing it, and I think this are the more … Read the rest
Unfortunately, part 8, 9 10 and 11 are one week delayed, because of some delivery bottlenecks on supplier side. For the coming week, I release a first part of a new series, where we will use the arm at the … Read the rest
The manual has no intuitive way to build the arm. In the first steps you should build the 1M2 Base and everything needed for the Base but instead to build the Base complete you should build the hole arm and … Read the rest
